A cheap home gym setup is a small set of versatile equipment — resistance bands, adjustable dumbbells, a mat and a jump rope — that covers strength, cardio and mobility in roughly 8 by 8 feet of floor space. You buy it in a set order rather than all at once: bands and a mat first, one anchor piece of load next, storage and flooring last.
Most people get this wrong the same way. They buy a rack, a barbell and a treadmill in one weekend, then train twice a month with all of it sitting there. Build slowly instead and every item earns its floor space.
The whole project takes two afternoons and a drill. No electrician, no contractor — unless you are anchoring something into a stud wall.
Table of Contents
- What You Need
- Space
- The essentials
- Safety items
- Optional upgrades
- Things you already own
- Step-by-Step
- 1. Choose a Safe, Usable Space
- 2. Start With the Essentials for a Cheap Home Gym
- 3. Set Up Storage and Equipment Zones
- 4. Protect the Floor and Walls
- 5. Test the Gym Before Buying More
- Common Mistakes
- Frequently Asked Questions
- What is the cheapest home gym setup?
- How much space do I need for a home gym?
- Do I need a squat rack for a home gym?
- Are adjustable dumbbells worth it for a home gym?
- How do I know if used gym equipment is safe?
- Is a home gym cheaper than a gym membership?
- Conclusion
What You Need
Before you buy anything, work out what the room has to do. That list is short, and it decides every later purchase.
Space
- A clear rectangle of floor, ideally 8 by 8 feet for a bench plus a barbell, or 4 by 6 feet for a dumbbell-only setup.
- Ceiling height of 7 feet minimum, and closer to 8 feet if a barbell ever goes overhead.
- A wall you can hang things on, and floor that can take rubber or wood cleats without sliding.
- Light you can see the floor in, and a door that swings the right way.
The essentials
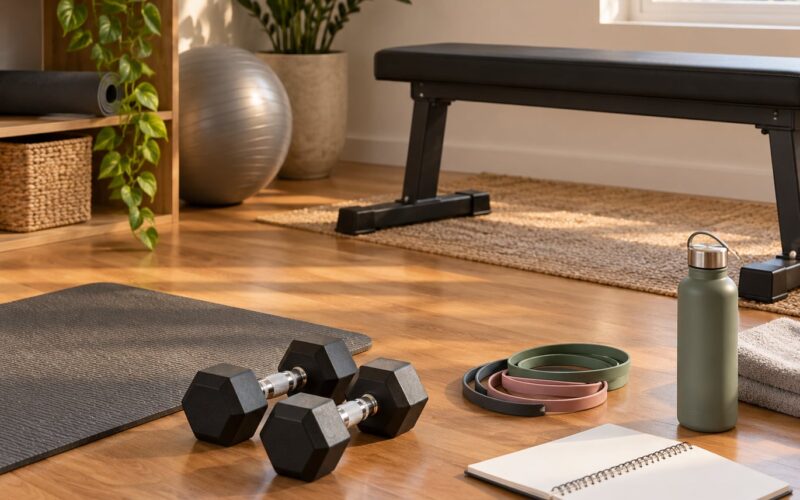
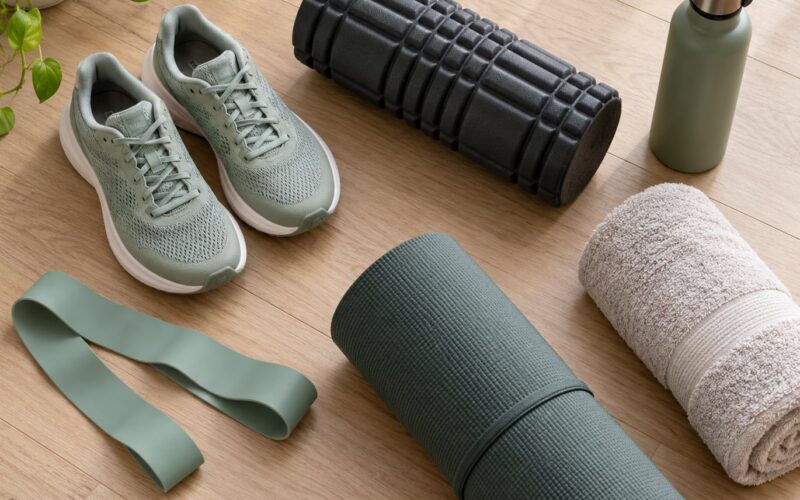
Four items cover nearly every beginner program: a resistance band set, a pair of adjustable dumbbells, an exercise mat and a jump rope. Everything past that is a replacement for something a commercial gym would provide.
Safety items
Collars for any barbell, a pull-up bar fixed into a doorway rather than a loose frame, rubber floor tiles under the lifting area, and wall guards behind the deadlift zone. If you live above someone, add mats for anything you drop.
Optional upgrades
An adjustable bench, a squat stand, a kettlebell, a suspension trainer, a plyo box. Each is useful, and none is urgent — most beginners add them after six to eight weeks of consistent training.
Things you already own
Water bottles, canned goods, a sturdy chair and a backpack filled with books all work as improvised load. A thick towel or foam pad is enough for a first stretching session.
Step-by-Step
1. Choose a Safe, Usable Space
Measure first, buy second. Tape the floor area out with painter’s tape and walk it like you would walk a room with furniture in it, because that is what it is.
Check four things: overhead clearance, floor type, noise, and how you get there twice a week. A finished basement slab takes rubber tiles well. Carpet does not — a loaded bar landing on carpet moves the whole mat.
Noise decides more apartment setups than floor space does. Any equipment you drop transfers straight through joists to the neighbour below, so put the drop zone over a rug or foam tile rather than over their bedroom ceiling.
| Setup | Clear floor needed | Ceiling |
|---|---|---|
| Bands, mat and jump rope only | 4 by 6 feet | Standard |
| Dumbbells and an adjustable bench | 6 by 6 feet | Standard |
| Barbell with squat stand or rack | 8 by 8 feet | 8 feet preferred |
| Corner setup against two walls | 5 by 8 feet | 8 feet preferred |
If a room fails on two or more of those, a corner of the living room or a patio usually works better than forcing a bad fit.
2. Start With the Essentials for a Cheap Home Gym
Buy in this order and stop when your training stops improving:
- Resistance band set — the cheapest item that covers presses, rows, pull-aparts and mobility work.
- Exercise mat — needed from the first session, for anything on the floor.
- Jump rope — the most portable cardio you will ever own, and it takes no floor space when stored.
- Adjustable dumbbells — the one anchor purchase that most beginners actually keep using.
- Bench — flat at first, adjustable later only if you are pressing seriously.
- Barbell, collars and squat stand — once you can squat two to three times a week without boring yourself.
That order matters. Bands and a jump rope teach you whether you will show up at all, and they cost a fraction of a rack. Buying the rack first is how people end up with an expensive clothes stand.
If you already pay for a gym somewhere, count the annual membership toward this gear. Plenty of budget builds start exactly that way — a cancelled membership plus a lot of hand-me-downs from friends.
3. Set Up Storage and Equipment Zones
A gym you cannot put away becomes a garage you walk around. Give the room three zones and keep them strict: a lifting zone, a storage zone, and a cardio zone you can clear in one movement.
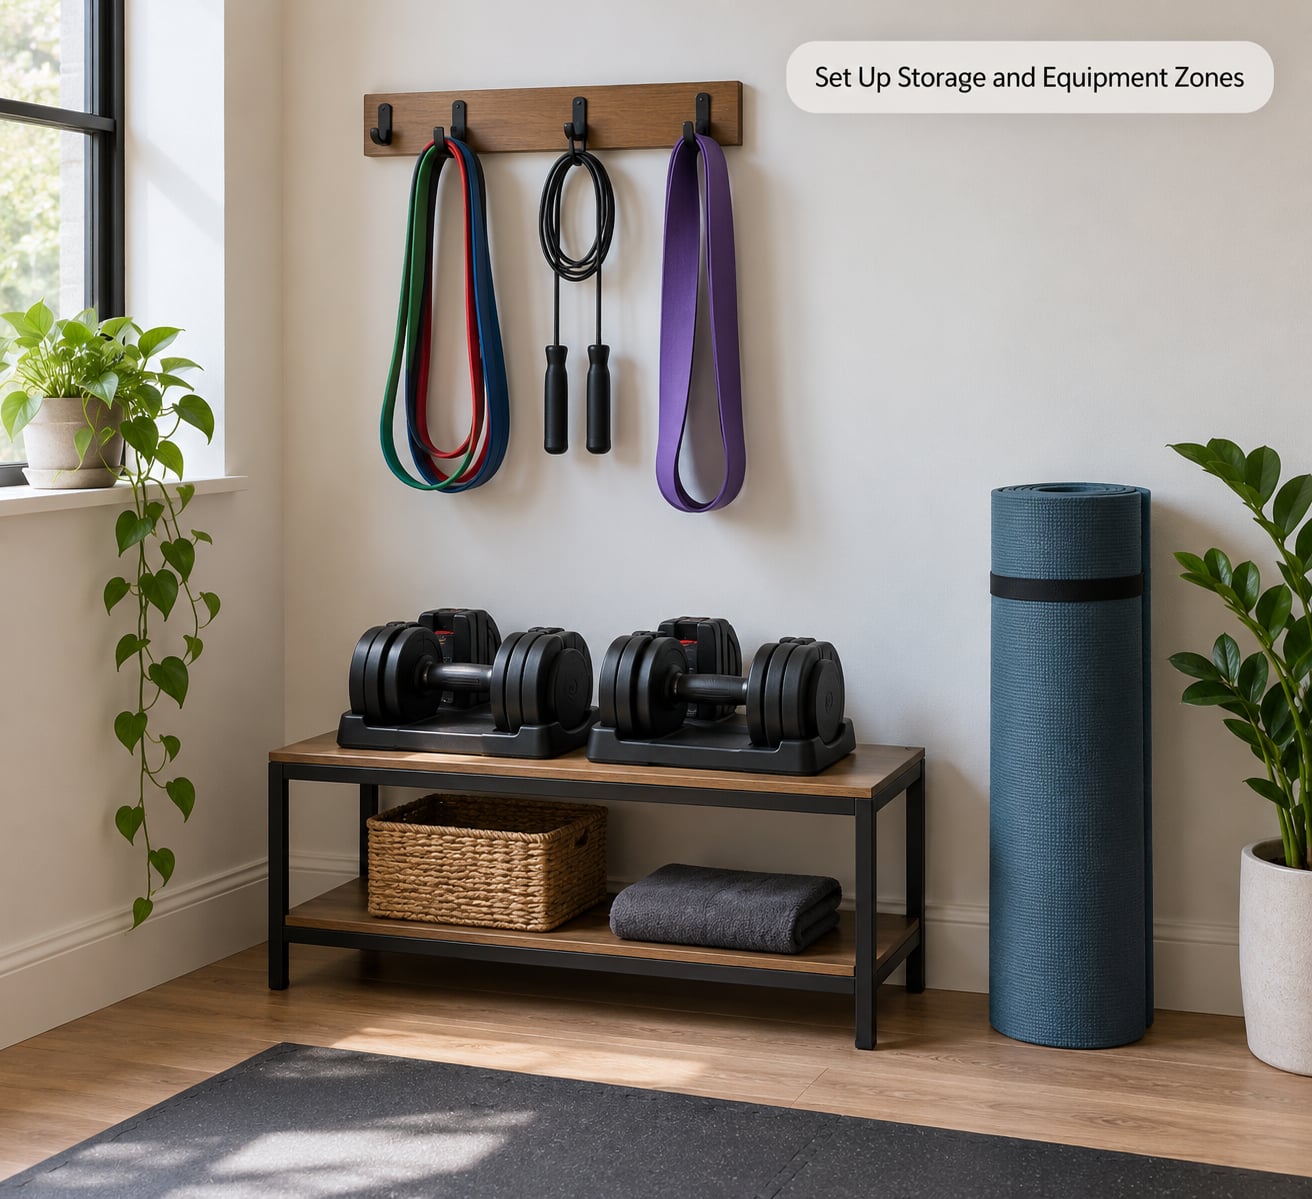
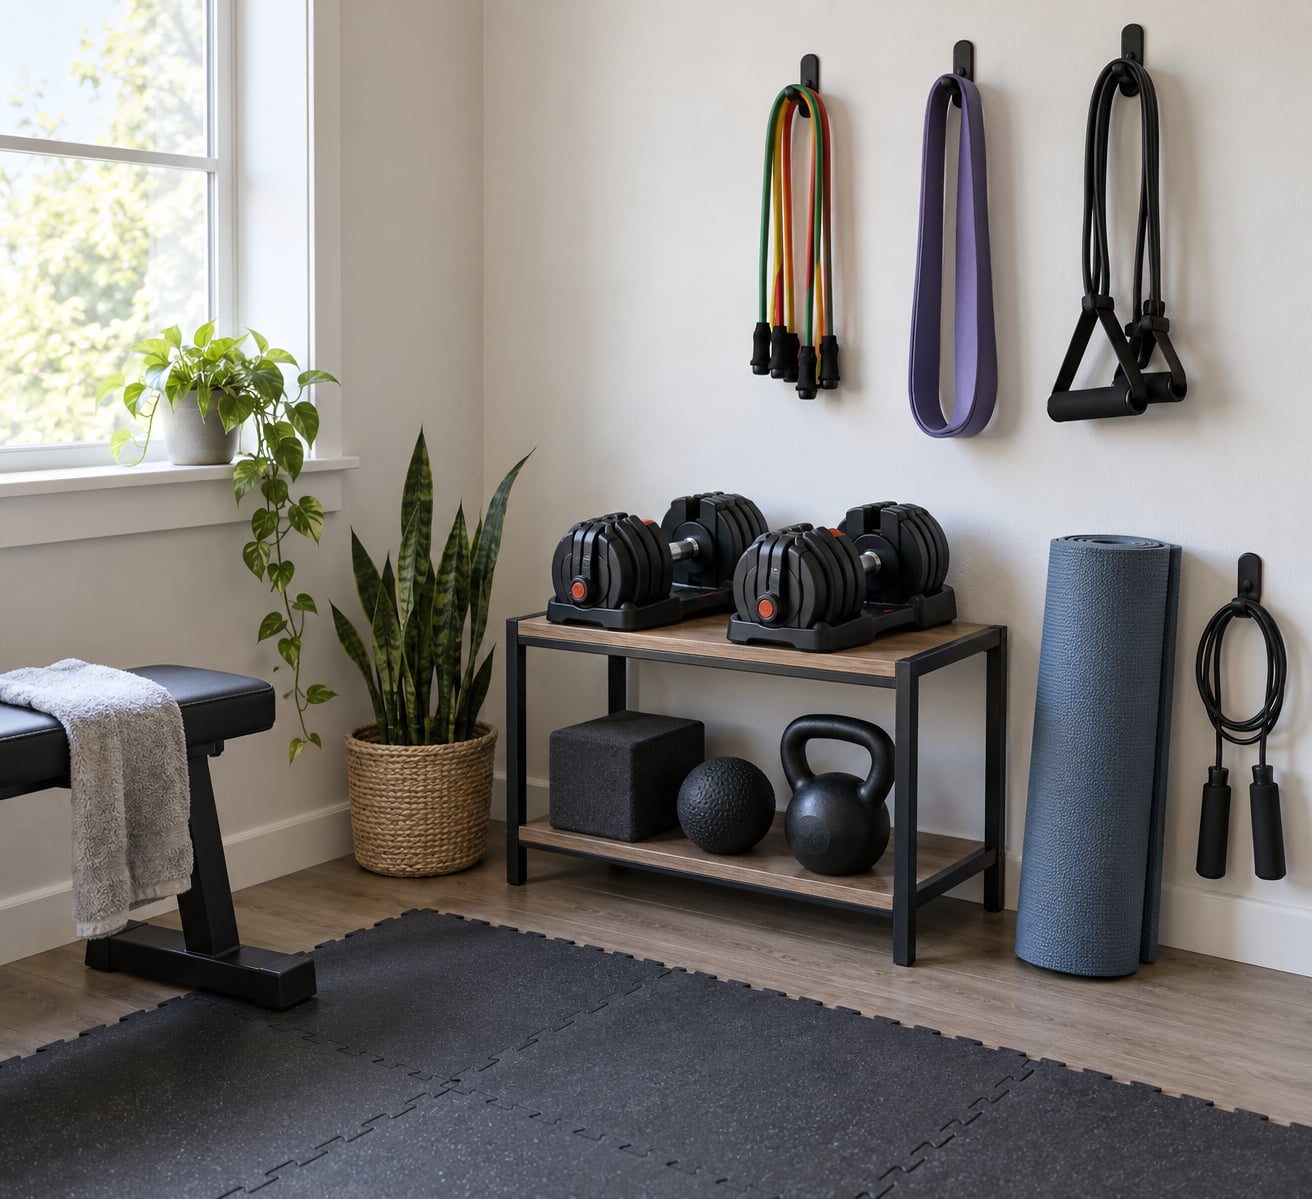
Storage does the real work in a small room. Hang bands and ropes on wall hooks, put dumbbells on a low shelf at hip height rather than the floor, and keep plates on a tree or a wall rack within a step of where you lift.
Vertical beats horizontal in any room under 10 by 10 feet. A pegboard on a stud wall or a set of shelves above a doorway keeps the walking path clear and stops the pile-up that makes a room feel smaller than it is.
Test it once: every piece should come back to its hook or shelf without you moving anything else first. If it takes two trips, the layout is wrong.
4. Protect the Floor and Walls
Rubber floor tiles are the least fun item on the list and the one that decides whether you keep the room. Standard interlocking tiles come in 2-foot squares and are the cheapest fix for concrete, plywood and low-pile carpet.
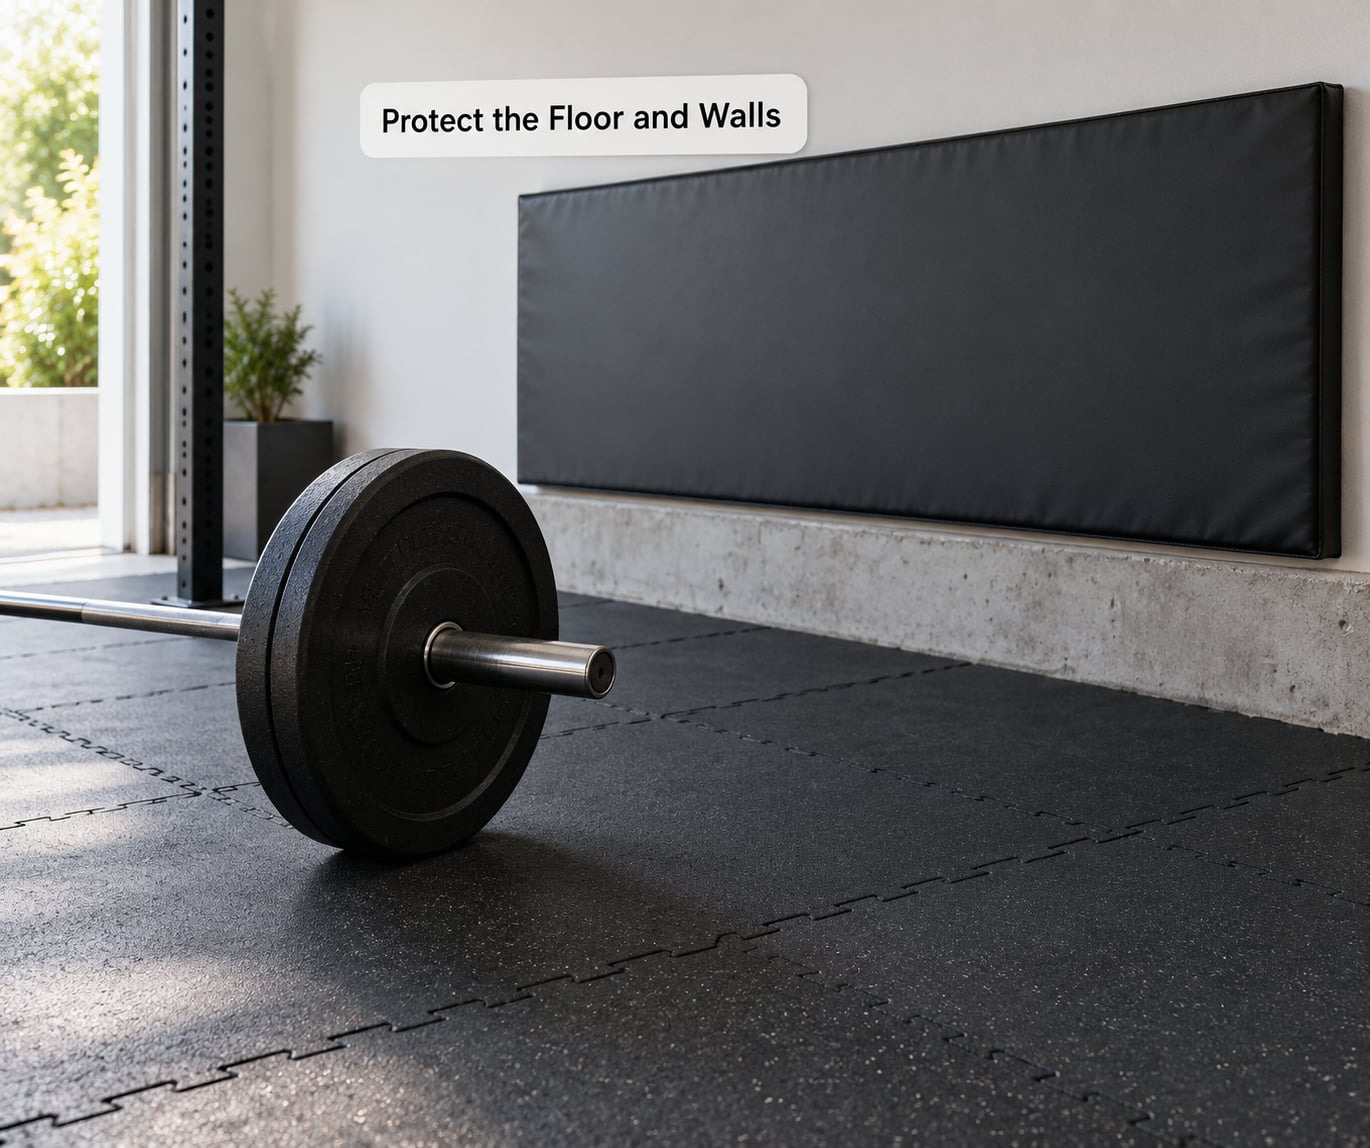
Add wall guards anywhere a loaded bar can swing. A barbell that whips off a failed lift will find plasterboard every time, and the noise travels further than the damage. Mount the guard into studs with the screws the manufacturer specifies.
Skip the drop zone in an apartment and use a folded rug or interlocking foam tiles. Bouncing a bar matters less than a neighbour knocking on the door.
5. Test the Gym Before Buying More
Train two or three times a week for four to six weeks with what you have. Write down what you struggled with rather than what you wished you had.
Almost always the gap is the same for beginners: not enough load for rows and presses, or no way to pull from above. A second pair of heavier dumbbells or a doorway pull-up bar fixes it. A treadmill never does.
Then add one item, wait another month, and repeat. If your joints hurt or you have a medical condition, get a doctor’s clearance before starting a new resistance routine.
Common Mistakes
Buying the whole setup in week one. Bands, mat, rope, dumbbells, bench, rack, bar, plates and a cardio machine is a shopping list, not a plan. Buy in the order above and stop at each tier long enough to know whether the next item earns its place.
Ignoring noise. Dropped weights, jumping rope and barbell drops are the top complaint from people training in flats. Foam tiles under the drop zone, a rope you use indoors only in socks, and no machines with a motor between 9pm and 7am will solve most of it. Check your lease or building rules before you set anything up.
Buying cheap racks, bars and collars. These are the three things you should not economise on. Look at rack welds and the coating on the J-hooks, run a bar over a rough surface to feel the knurling, and use real spinlock or lever collars rather than the plastic friction kind. A cheap stand with no bolt-down option tips; a cheap bar with smooth knurling rolls out of your hands.
Having no storage plan. If equipment has no assigned hook or shelf, it will sit in the middle of the floor. Decide where every item lives before it arrives.
Buying cardio first. Treadmills and rowing machines become clothes racks surprisingly fast, and a jump rope plus marching, stair work and bodyweight circuits covers conditioning at a fraction of the footprint.
Buying used gear without inspecting it. A quick check before you pay: rust on the bar or sleeves, cracks or flat spots in weight plates, frayed or kinked cables on any machine, torn upholstery with foam showing, a wobbly or bent frame, and missing collars or hardware on racks. Walk away from anything that has been stored in a damp garage, and from any listing with no photos of the actual unit.
Frequently Asked Questions
What is the cheapest home gym setup?
The cheapest useful setup is four things: a resistance band set, an exercise mat, a jump rope, and two household items used as light weights such as water bottles or canned goods. That combination covers pushes, pulls, core work and cardio in about 4 by 6 feet of floor. Add adjustable dumbbells only once you can train twice a week consistently.
How much space do I need for a home gym?
Bands, a mat and a jump rope need about 4 by 6 feet. Dumbbells with an adjustable bench need roughly 6 by 6 feet. A barbell with a squat stand or rack wants 8 by 8 feet and about 8 feet of ceiling height. In a corner setup, keep one wall clear so the bar has somewhere to travel.
Do I need a squat rack for a home gym?
Not at the start. A doorway pull-up bar, a pair of dumbbells and a bench cover the first three months of most beginner programs. A squat stand makes sense once you are squatting two or three times a week and need somewhere to set the bar down between sets. Only move to a full rack with safety arms if you are training heavy barbell work alone.
Are adjustable dumbbells worth it for a home gym?
For most beginners in a small space, yes. They replace a rack of fixed pairs, take up the footprint of one tray, and let you add weight without buying more hardware. The trade-offs are real: the mechanism shifts slightly under load, and jumps between weights are discrete rather than smooth. Anyone lifting heavy for years often prefers a rack of fixed dumbbells.
How do I know if used gym equipment is safe?
Inspect before you pay. Check bars and sleeves for rust and pitting, plates for cracks, cables for fraying or kinking, upholstery for tears, frames for bends, and racks for missing bolts or hardware. Check every weight the seller claims is included. Skip anything stored in a damp space and anything sold without photos of the actual unit.
Is a home gym cheaper than a gym membership?
It depends on how often you would genuinely train. Equipment pays back fastest when you would have gone three or four times a week, since a membership charged on days you skip costs the same as one you use. If you train once a month, or you need machines, classes and coached lifting, membership is still the cheaper option.
Conclusion
Start with three things this week: measure the floor, buy bands, a mat and a jump rope, then tape the lifting area out and train in it for two weeks.
Add adjustable dumbbells once you are showing up, storage before anything else lands on the floor, and flooring before the first heavy bar. That ordering is what keeps a cheap home gym setup cheap — you never pay for equipment you do not yet need.