Meal prepping breakfast for the week takes one 60 to 90 minute session and covers most of your workweek. You cook two or three dishes in bulk, portion them into containers, keep the first three or four days in the fridge and freeze the rest, then reheat in 60 to 90 seconds on a weekday morning.
The part that trips people up is variety. Seven identical containers of the same oatmeal is how most people quit by Wednesday. A rotation of two or three make-ahead breakfasts, cooked with different proteins and add-ins each time, gets you through the week without the flavor boredom that kills most prep plans.
Below is the process I use: what to gather first, how to pick a rotation that fits your schedule, a time-blocked cooking routine, how long each breakfast actually keeps, and how to reheat it without turning eggs into rubber. Calorie and macro targets vary a lot between people, so treat the portion sizes here as starting points and adjust them with a registered dietitian if you’re working to specific numbers.
Table of Contents
- What You Need
- Containers
- Labels and tools
- Pantry staples that carry several breakfasts
- Step-by-Step: How to Meal Prep Breakfast for the Week
- 1. Choose a Flexible Breakfast Rotation
- 2. Make a Shopping and Prep List
- 3. Cook and Cool the Batch
- 4. Portion, Label, and Store
- How long prepared breakfast keeps
- 5. Reheat and Eat Throughout the Week
- Common Mistakes
- Frequently Asked Questions
- How long does meal prepped breakfast last in the refrigerator?
- Can I freeze oatmeal, eggs, and overnight oats?
- What is the easiest way to meal prep breakfast for the week?
- How should I keep prepared breakfasts from getting soggy or stale?
- Can I meal prep breakfast for only part of the week?
- How do I portion breakfast meals for adults with different calorie needs?
- Conclusion
What You Need
You need less equipment than most prep guides suggest. Glass or BPA-free plastic containers in two sizes, a roll of masking tape or a cheap label maker, and a sheet pan do about 90 percent of the work. Everything else is optional.
Containers
- Wide shallow glass containers for oatmeal, egg muffins and baked bars. Wide means less condensation and faster, more even reheating.
- Screw-top jars with seals for overnight oats and chia pudding. Jars are leak-proof, portion naturally and stack in a fridge door.
- Freezer-safe wrap or small trays for burritos. Freezer trays keep them flat; a rolled towel in the bag keeps them from shifting.
- Silicone muffin tin if you plan to make egg muffins or baked oatmeal cups. A standard 12-cup tin makes six servings per batch.
Skip anything that is not microwave-safe if you plan to reheat in the microwave, which is the realistic case for most people. Also skip thin plastic tubs for freezing; they get brittle and crack.
Labels and tools
- Masking tape, painter’s tape or a label maker. Write the dish name and the date it was cooked, not the date you plan to eat it.
- A digital thermometer for egg dishes. Egg casseroles, muffins and burritos should hit 160°F (71°C) when they go into the fridge.
- A cooling rack or the back of a sheet pan for cooling pans of food quickly.
- An immersion blender for overnight oats and chia puddings, if you do not like a chunky texture.
Pantry staples that carry several breakfasts
These roughly twenty items are what make a flexible rotation possible. With them on hand you can build oatmeal, jars, muffins, burritos and bars without a separate grocery run.
- Oats: rolled, steel-cut or quick
- Chia seeds and ground flaxseed
- Eggs
- Greek yogurt, cottage cheese or milk of your choice
- Nut or seed butter
- Maple syrup or honey
- Cinnamon, vanilla extract, and whatever spice blend you actually use
- Unsweetened almond or oat milk
- Tortillas, either flour or low-carb
- Black beans, salsa, and shredded cheese
- Pre-cooked breakfast sausage or ground turkey
- Bell peppers, onion and spinach
- Bananas and apples
- Berries or frozen fruit
- Coconut oil or butter for the pan
- Baking powder
- Brown sugar or coconut sugar
- Vanilla protein powder or collagen, if you track protein
- Sea salt and black pepper
- Freezer bags for portioning fruit and cooked meat
Step-by-Step: How to Meal Prep Breakfast for the Week
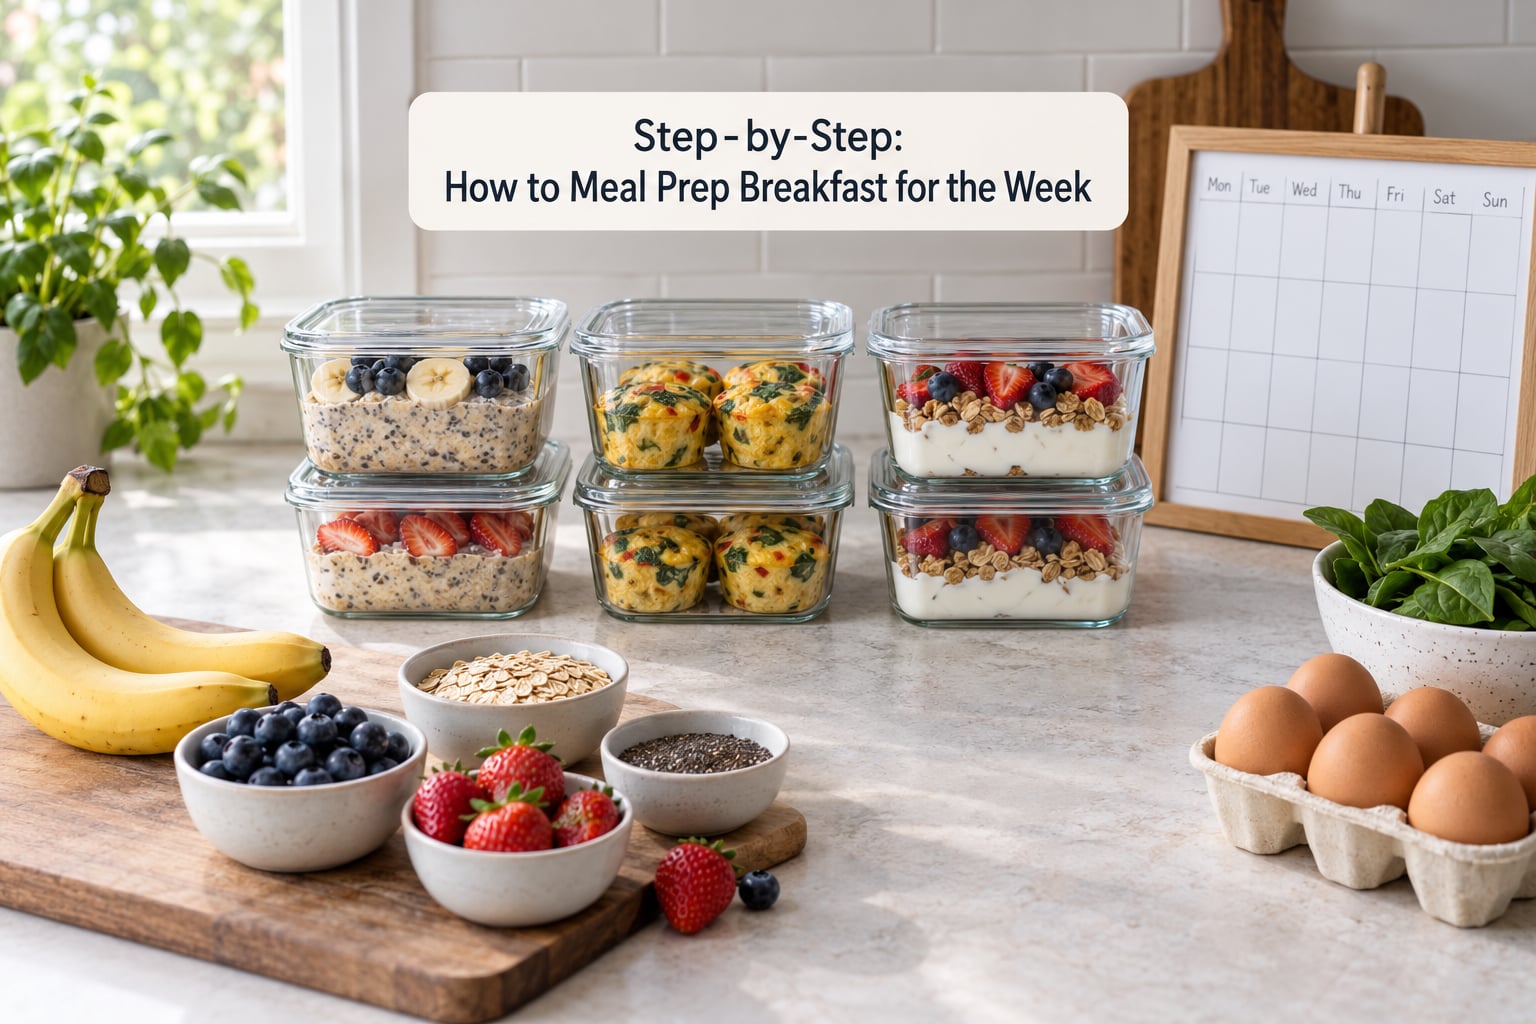
Learning how to meal prep breakfast for the week comes down to five decisions made before you start cooking: what to make, what to buy, how to cook it, where it goes, and how it gets reheated. Get those right and the cooking itself is the easy part.
1. Choose a Flexible Breakfast Rotation
Pick two or three breakfasts, not seven. Each one should reheat without turning into a rubbery, soggy or grainy mess, and each should accept different add-ins so the same base dish tastes different on day one and day five.
A workable rotation for most people looks like this:
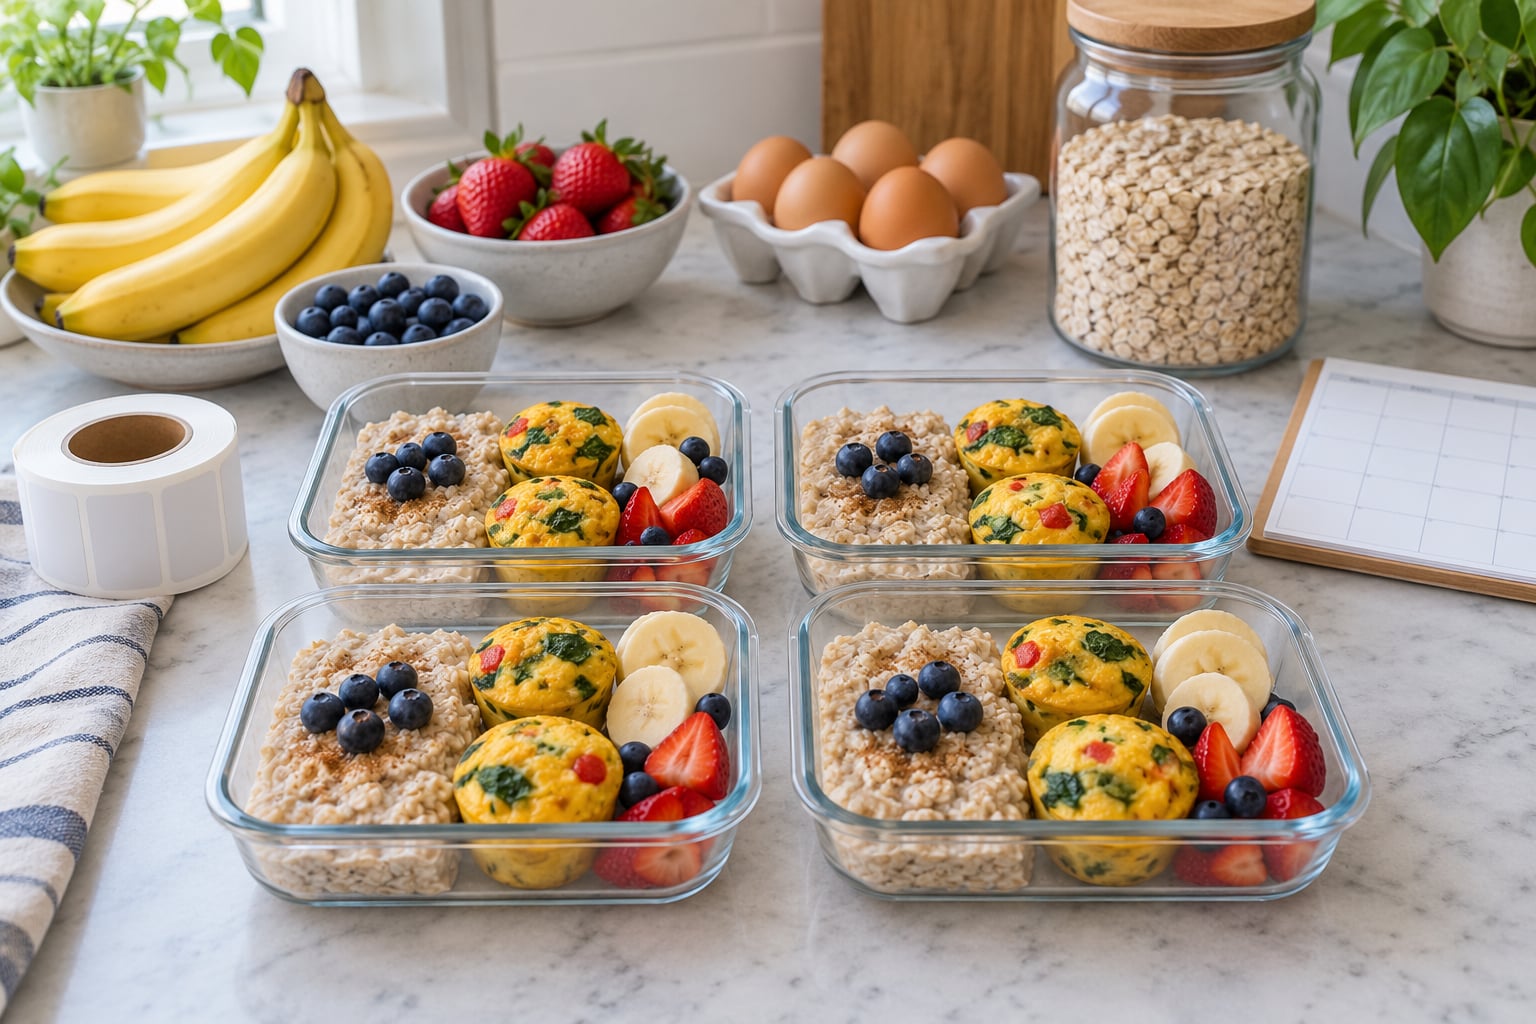
- Egg-based, cooked once and eaten three or four times: sheet-pan eggs, egg muffins, or an egg and veggie casserole. High protein, keeps three to four days, reheats in 90 seconds.
- Overnight oats or chia pudding jars: no cooking on prep day beyond stirring. You can add different fruit, nut butter and spice each morning, so one batch covers two or three breakfasts that don’t taste identical.
- Breakfast burritos or wraps: the best freezer option. Fill, roll, freeze. They thaw in the fridge overnight and reheat from cold in about four minutes.
- Baked oatmeal bars or muffins: a batch of eight to twelve portions that travels well and freezes about two to three months.
- Savory non-egg option: a chickpea or white bean salad, or leftover roasted vegetables with hummus and a boiled egg, if eggs are not your thing every day.
Three breakfasts, three days each, is a simple pattern people often call a 3-3-3 rotation. The exact split matters less than avoiding the trap of one dish for seven days.
Before you commit, answer three questions honestly: Will you actually eat oatmeal cold out of a jar four mornings in a row? Do you have a microwave? Does anyone in the house refuse leftovers? If the answer to the third question is yes, make that person’s breakfast a separate, fresh item, such as yogurt with fruit or toast, instead of trying to force the prep plan on them.
2. Make a Shopping and Prep List
Turn your rotation into a shopping list before you leave the house, and check the pantry first. Most of the twenty staples listed above are shelf-stable and probably already in your kitchen, so the actual grocery run is smaller than people expect.
Buy fresh for the first three or four days only. Fruit browns, greens wilt and yogurt gets watery by the end of the week, so week-two breakfasts get fruit from the freezer instead. Frozen berries hold their texture better than fresh in an oats jar anyway.
Some prep can happen the night before the cooking session to save time on the day:
- Soften butter, or measure out coconut oil, so it is ready for the pan.
- Chop bell pepper and onion, then bag them. One cup of chopped onion and pepper is the base of egg muffins, burritos and frittatas, so a single chopping session covers three dishes.
- Portion frozen spinach and pre-cooked sausage into freezer bags so you can add them without measuring.
- Set out jars, tape and a marker on the counter before you cook anything.
Keep the list grouped by where the item lives in the store. It sounds fussy, but a single trip through produce, dairy and grains takes about half the time of a list that sends you back and forth.
3. Cook and Cool the Batch
Set a timer for 90 minutes and work in time blocks rather than starting one dish and finishing it before moving on. Parallel cooking is what makes the session feel short.
Minutes 0 to 15: Oven on, eggs on, grains started. Preheat the oven to 350°F (177°C). Put a tray of 12 eggs in to boil for hard-boiled eggs if you want them, and start the steel-cut oats or baked oatmeal in a pan at the same time. Both are passive tasks that run while you chop.
Minutes 15 to 35: Build the eggs. Beat 10 to 12 eggs with salt, pepper and any milk, then divide into a greased 12-cup muffin tin with chopped vegetables, cheese and cooked sausage in each cup. Bake at 350°F for 18 to 22 minutes, until the centers reach 160°F (71°C). Muffins bake faster than a full casserole and portion themselves.
Minutes 35 to 55: Assemble the oats and burritos. While the muffins bake, stir oats with milk and fruit for the overnight jars, and warm tortillas so they are pliable. Cook breakfast sausage in a skillet, then assemble burritos with scrambled eggs, sausage, black beans, salsa and cheese. Roll tightly, tuck in the ends.
Minutes 55 to 75: Bake and cool. Baked oatmeal goes in the oven. Everything else comes out and lands on a cooling rack. Do not stack containers while food is still warm, because trapped steam makes oatmeal gummy and burrito tortillas soggy.
Minutes 75 to 90: Clean up and label. While you are still in the kitchen, wipe surfaces, load the dishwasher and write labels. Prep left to “after dinner” tends to happen at midnight.
Cooling is the safety step people skip. USDA guidance is to refrigerate perishable food within two hours of cooking, and to divide large hot amounts into shallow containers so heat escapes quickly. A deep pot of hot oatmeal sitting on the counter for an hour puts the center of the pot in the temperature range where bacteria multiply fastest. Spread it thin, vent the lids until it stops steaming, then seal and refrigerate.
4. Portion, Label, and Store
Portion while the food is still slightly warm, because it firms up as it cools and gives you an honest serving size. A quarter-cup scoop or a 4-ounce measuring cup handles oatmeal and jars; a silicone cup or your hand rolled into a tight ball handles baked bars.
Write two things on every label: the dish and the cook date. The cook date is what tells you whether a tub is still good, and it takes two seconds to write while the food is in front of you.
How long prepared breakfast keeps
These are realistic refrigerator and freezer windows based on USDA guidance and standard manufacturer recommendations. The refrigerator numbers assume your fridge holds 40°F (4°C) or below.
| Breakfast | Refrigerator | Freezer | Best reheat method |
|---|---|---|---|
| Cooked egg muffins or egg casserole | 3 to 4 days | 1 to 2 months | Microwave, 60 to 90 seconds |
| Hard-boiled eggs in shell | 5 to 7 days | Do not freeze in shell | None needed |
| Scrambled eggs or frozen egg patties | 3 to 4 days | 2 to 3 months | Microwave or skillet |
| Overnight oats and chia pudding | 3 to 4 days | Not recommended | Eat cold or microwave 45 seconds |
| Cooked oatmeal or baked oatmeal | 3 to 4 days | 2 to 3 months | Microwave with a splash of milk |
| Breakfast burritos and wraps | 3 to 4 days | 1 to 3 months | Thaw in fridge, then skillet or microwave |
| Pancakes, waffles and breakfast muffins | 3 to 4 days | 1 month | Toaster or microwave |
| Chia pudding with fruit | 4 to 5 days | 2 to 3 months, texture suffers | Eat cold |
The rule behind the table: refrigerate the first three to four days, freeze everything past that. A tub made on Sunday should be eaten by Wednesday or Thursday, not Friday night. People routinely stretch prepared food to a full seven days in the refrigerator, and that is where the 40 to 140°F (4 to 60°C) danger zone becomes a real risk rather than a theoretical one.
Freezing burritos flat on a tray first, then transferring them to a bag or container once solid, prevents them from collapsing into a shapeless lump. Squeeze most of the air out of the bag before sealing it, because air is what causes freezer burn and the dry, pale edges that make people throw food out.
One rule from the forums is worth repeating because it saves real food: do not freeze hard-boiled eggs. The whites go spongy and watery when they thaw. Scrambled eggs freeze and reheat far better, which is why cooked scrambled eggs and egg patties make better use of the freezer than whole boiled eggs do.
5. Reheat and Eat Throughout the Week
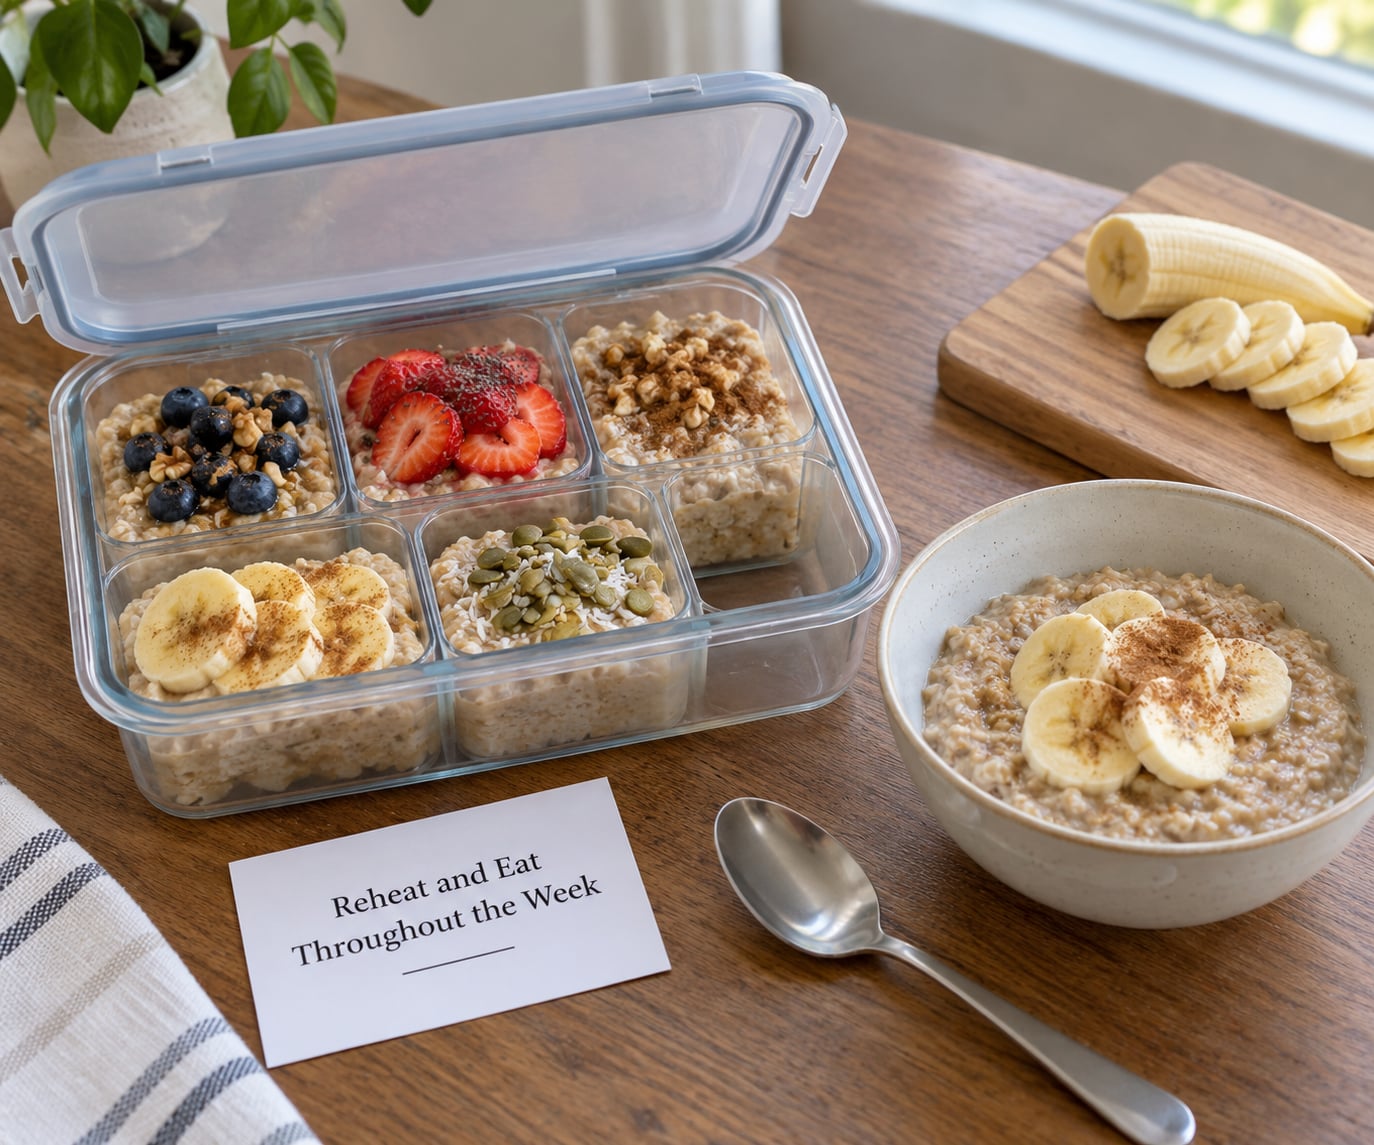
Prepped breakfast fails at the last step more often than at the cooking step. A burrito microwaved for four straight minutes has a tortilla with the texture of a wet envelope, and oats microwaved dry taste like paste.
A short method guide by dish type:
- Egg muffins and casseroles: 60 to 90 seconds on high, covered loosely with a plate or microwave-safe lid so they steam instead of drying out.
- Overnight oats and chia pudding: either eat them cold straight from the jar, or warm 30 to 45 seconds with a splash of milk. Warming them dry is the single most common complaint about prepped oats.
- Burritos: thaw in the fridge overnight, then warm in a dry skillet for two minutes a side, or microwave on 50 percent power for two to three minutes. Low power keeps the tortilla from turning rubbery.
- Baked oatmeal bars and muffins: 15 to 20 seconds, just until warm. Long reheats dry them out.
- Pancakes and waffles: toaster if they fit flat, otherwise 20 to 30 seconds in the microwave.
On the morning you eat, keep it under two minutes: open the fridge, take the container, add the fresh topper, heat it, eat. Fresh add-ins are what stop day-five oatmeal from tasting like day-one oatmeal. Sliced banana, a spoon of nut butter, extra berries and a different spice take ten seconds and change the whole thing.
For eating on the way out the door, put the container in an insulated bag with an ice pack, or freeze a burrito the night before and let it thaw in the fridge while you sleep. A jar that has sat at room temperature for two hours in a car is not a grab-and-go breakfast anymore.
Common Mistakes
Most breakfast prep fails for the same handful of reasons, and none of them are about cooking skill. They are planning and storage problems.
Preparing seven days in the refrigerator. Prepared food is safest within three to four days refrigerated. Plan for four days in the fridge and three in the freezer, or cook twice a week instead of once.
One breakfast for the whole week. Flavor fatigue by day three or four is the reason people quit. Rotate two or three dishes and vary the add-ins daily rather than buying seven of anything.
Freezing eggs that do not handle it. Boiled eggs thaw spongy, and whole eggs in shell crack. Freeze scrambled eggs or cooked egg patties instead, laid flat on a tray first so they keep their shape.
Reheating oats dry. Two or three tablespoons of milk in the bowl before microwaving fixes it. Warming on the stovetop with a lid and a splash of liquid works just as well.
Stacking hot containers. Warm food sealed and stacked traps steam, which is the direct cause of gummy oatmeal and limp burrito tortillas. Cool on a rack, vent the lids, then close them up.
Skipping labels. Unlabeled tubs turn into a science experiment by Wednesday. Dish name plus cook date, written while the food is in front of you.
Microwaving on full power for too long. Burritos and wraps especially: two minutes at 50 percent power beats four minutes at full power, and costs nothing extra.
Pretending the Sunday session takes ten minutes. A realistic first-time session with shopping, cooking, cooling and cleanup runs 60 to 90 minutes once you know the routine. After two weeks it drops closer to 45 minutes, because the shopping list and the containers are already there.
One more fix worth adding: freeze portions you will not eat, rather than preparing food and then throwing it away. Waste is the hidden cost of over-prepping, and freezing on day one means day seven breakfast is already handled.
Frequently Asked Questions
How long does meal prepped breakfast last in the refrigerator?
Most prepared breakfasts keep three to four days in the refrigerator at 40u0026deg;F or below: cooked egg dishes, oatmeal, burritos, pancakes and muffins all fall in that window. Overnight oats and chia puddings run to about five days. Hard-boiled eggs in their shell are the exception, lasting five to seven days. Plan four days in the fridge and freeze whatever covers days five through seven.
Can I freeze oatmeal, eggs, and overnight oats?
Oatmeal and eggs freeze well. Baked oatmeal bars and cooked oatmeal keep two to three months frozen, and scrambled eggs or egg patties keep two to three months. Overnight oats do not freeze well, because the texture turns gluey and the chia gets gummy. Thaw oatmeal in the fridge overnight, then add a splash of milk before reheating.
What is the easiest way to meal prep breakfast for the week?
Pick two dishes you already eat, cook one big batch of each, and portion into jars and shallow containers. Overnight oats and egg muffins are the lowest-effort pair because one needs no cooking and the other portions itself in a muffin tin. Label everything with the cook date, refrigerate four days worth, and freeze the rest.
How should I keep prepared breakfasts from getting soggy or stale?
Cool food fully before sealing lids, because trapped steam is what makes oats gummy and tortillas limp. Store add-ins like nut butter, fruit and sauces separately and add them the morning you eat. For reheating, add a splash of milk to oatmeal and warm wraps at half microwave power. Airtight containers and frozen air squeezed out of bags prevent staling and freezer burn.
Can I meal prep breakfast for only part of the week?
Yes, and for most people that is the better plan. Prep four days, then do a 15-minute top-up midweek for eggs or yogurt with fruit. If mornings are unpredictable, freeze burritos and bars flat on a tray, bag them once solid, and thaw one in the fridge overnight as needed.
How do I portion breakfast meals for adults with different calorie needs?
Use portion size as the adjustment knob rather than building separate meals. A quarter cup of cooked oatmeal plus a boiled egg and berries suits a lighter morning, while the same base with two eggs, nut butter and a full cup of yogurt suits a higher-energy one. For specific calorie or macro targets, ask a registered dietitian to set portions that match your needs.
Conclusion
Start with three breakfasts and a single Sunday session. Cook one batch of egg muffins, stir one batch of overnight oats and roll a tray of burritos, then label each container with the date it was cooked.
That single routine, repeated, replaces a weekday cooking decision with a two-minute grab. Add a fourth and fifth day the next week by freezing, and vary the toppings so nothing tastes the same twice. If your mornings are unpredictable, prep four days instead of seven and top up midweek.
Prep food also tends to disappear faster than planned. If you are working on portion control or calorie targets at the same time, pair this routine with a set of fresh, low-effort breakfasts you rotate alongside the prepped ones, and check in with a registered dietitian about portions that fit your needs.