Prep healthy lunches for kids and yourself with one weekend hour and a single rule: cook one batch of plain base foods, then split it into a kid-friendly finish and an adult finish. The kid box gets small portions, familiar flavors and something fun; yours gets extra protein, extra fiber and portions you control. Every weekday lunch then takes about five minutes to assemble, and nothing is cooked twice.
That approach solves the two problems most families hit. Parents spend an hour on Sunday and then eat the same leftovers as their kids all week, or they pack a rushed sandwich every morning and run out of steam by Wednesday. This system fixes both.
What follows is the exact setup, the workflow, the storage rules with real shelf-life numbers, and what to do when a kid rejects the food. Nothing here is medical or dietary advice, so follow your own family’s needs and your pediatrician’s guidance where it applies.
Table of Contents
- What You Need for Healthy Lunch Prep
- How to Prep Healthy Lunches for Kids and Yourself Step by Step
- 1. Plan Two Versatile Base Meals for Healthy Lunch Prep
- 2. Shop With a Reusable Lunch List
- 3. Prepare Components Before Assembling
- 4. Build Balanced, Divided Lunchboxes
- 5. Label, Chill, and Store Lunches Safely
- 6. Add Variety Without Starting From Scratch
- Common Mistakes and the Fix for Each
- Frequently Asked Questions
- How long can a packed lunch stay safe?
- What are easy healthy lunch ideas for picky kids?
- How can I make the same prepped lunch appealing to both kids and adults?
- Can I freeze lunches for school or work?
- How should I pack lunches for a child with a food allergy?
- What foods can I prepare ahead for lunches throughout the week?
- Conclusion
What You Need for Healthy Lunch Prep
The gear list is short, and you already own most of it. The one thing worth buying first is a set of containers in two or three sizes, because portion control is what makes a single batch work for a six-year-old and an adult.
- A simple checklist — a paper list on the fridge or a note in your phone that lists what needs prepping this week. Keep it boring and short. People who cook with a long color-coded plan usually quit by week two.
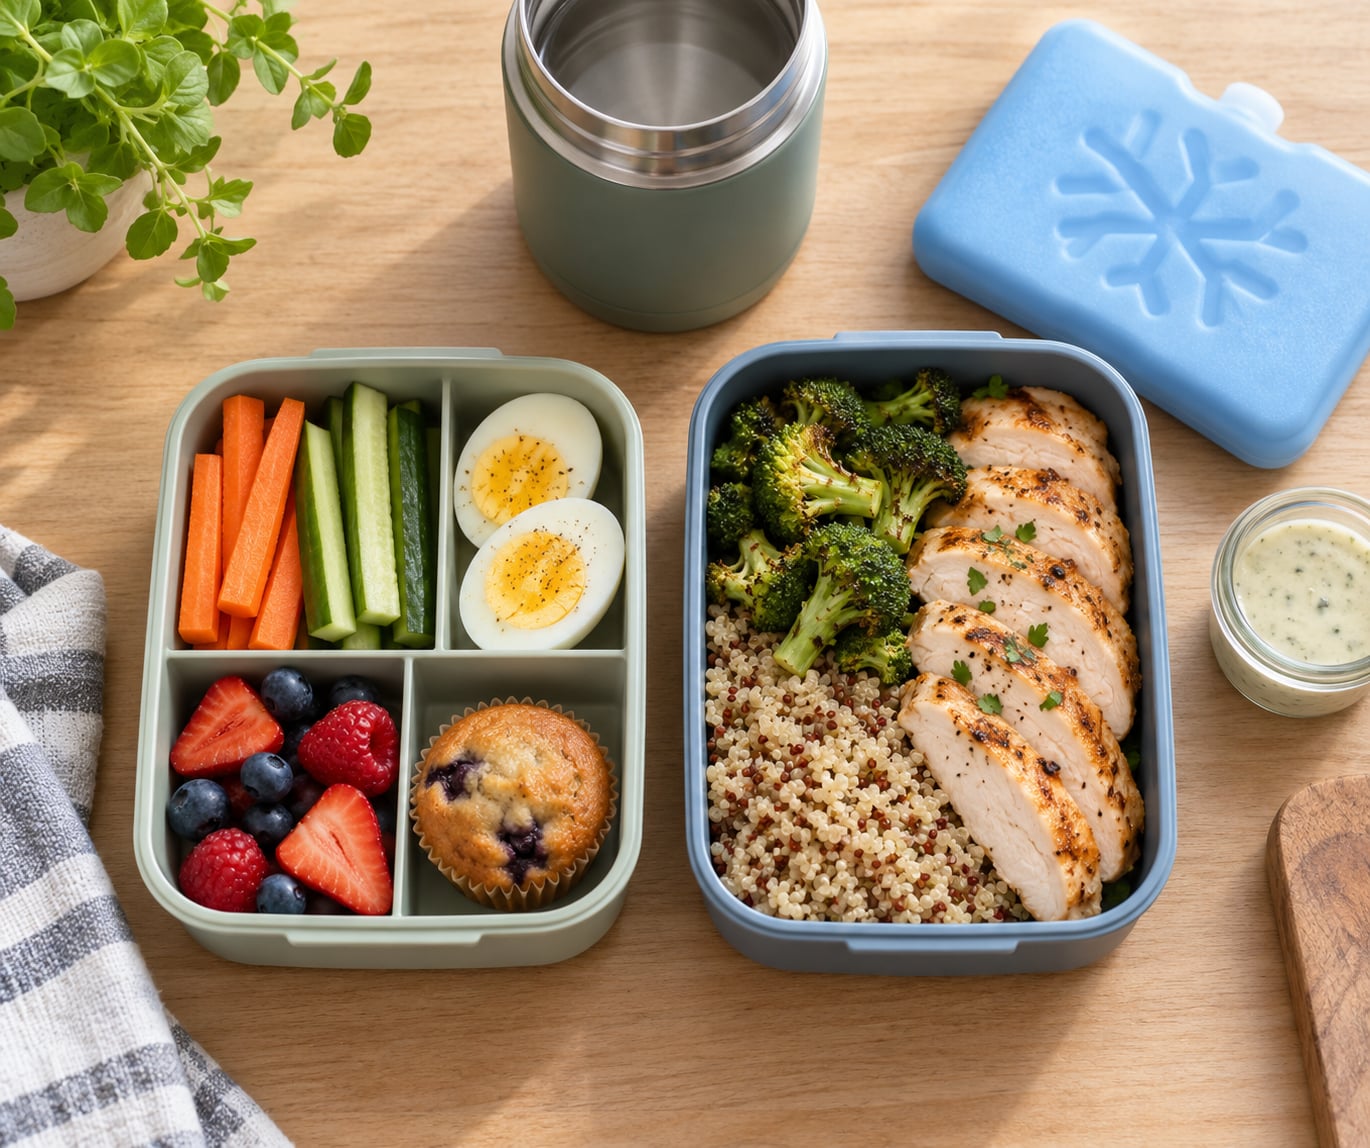
- Reusable containers, two or three sizes — one main compartment for the base, one small pot for fruit or snacks, one tiny pot for wet items like hummus, dressing or cut fruit.
- An insulated food container or thermos — for hot lunches when there is no microwave, and for cold packs when there is.
- One or two ice packs — the cold chain is the part people skip and then wonder why the milk smells off at noon.
- A cutting board and a decent knife — a big board gives you room to cut an entire week’s produce in one go instead of in pieces across three evenings.
- Airtight storage and a permanent marker — for labeling the fridge stash and the freezer bags.
Separate containers or divided trays are what let you handle a small appetite, a dietary restriction and an adult portion at the same time without cooking three separate meals. A divided tray with a wet compartment also stops the soggy sandwich problem that drives most night-before packing failures.
Before you buy anything, check the school rules. Most schools are nut-free, many have no microwave or no reheating access, and plenty discourage messy or strongly scented food. Those three constraints decide your container type more than any preference.
How to Prep Healthy Lunches for Kids and Yourself Step by Step
This is the whole system: plan two bases, shop once, prep components, assemble, then store safely. Budget roughly one hour the first time, less after that once you know the rhythm.
1. Plan Two Versatile Base Meals for Healthy Lunch Prep
Pick one base that an adult would happily eat and one base a child will reliably accept, then add produce, protein and extras in flexible combinations. The bases should be neutral in flavor so the same batch can point in two directions.
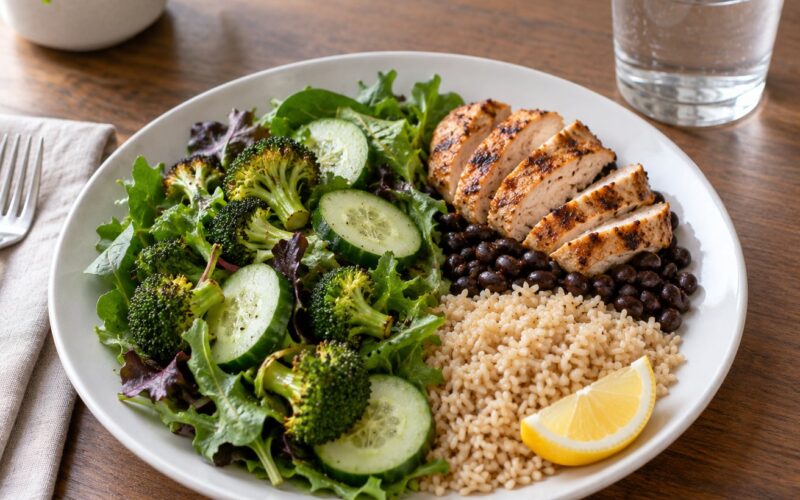
Adult-friendly bases: quinoa, brown rice, a sheet-pan tray of roasted vegetables, rotisserie chicken pulled into pieces, cooked pasta with an olive oil dressing, a can of chickpeas drained and tossed with herbs. Kid-friendly bases: quesadillas, small pasta salad with a mild dressing, soft tortilla pinwheels, mini muffins, or plain pasta with butter and grated cheese.
The reason this avoids the same meal every day is that you are not planning five finished meals. You are planning two bases and a set of components, and the combinations come from mixing them differently. Rotisserie chicken, quinoa, roasted broccoli and a little feta becomes an adult grain bowl on Tuesday and a deconstructed pinwheel plate for your kid on Wednesday.
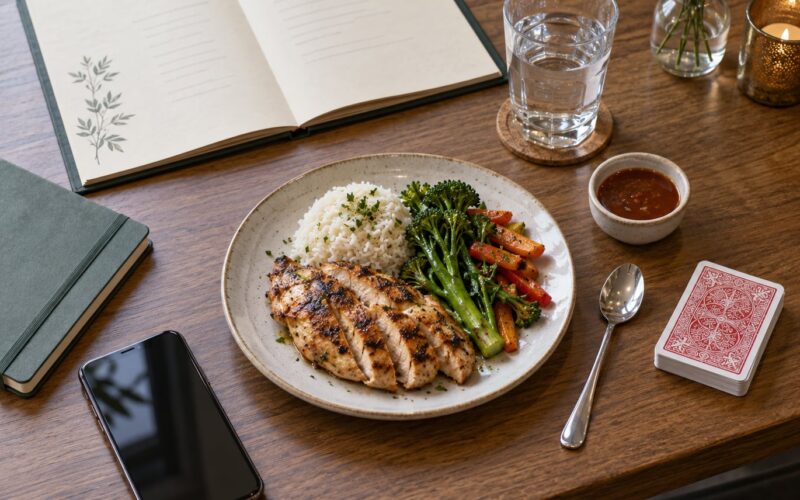
One template comes up constantly in prep communities: chicken and rice with a few vegetables works for both audiences without anyone feeling like they got the leftovers. The trick is seasoning the adult portion separately at assembly time instead of seasoning the whole batch for a kid.
2. Shop With a Reusable Lunch List
Walk the kitchen first and write down what you already have. Most prep failures are shopping failures, and buying a third container of the same grain you already have half a bag of is where the money leaks.
Build the list by food group rather than by meal. Proteins, grains, produce, dips and snacks. That way every item on it can go into more than one lunch.
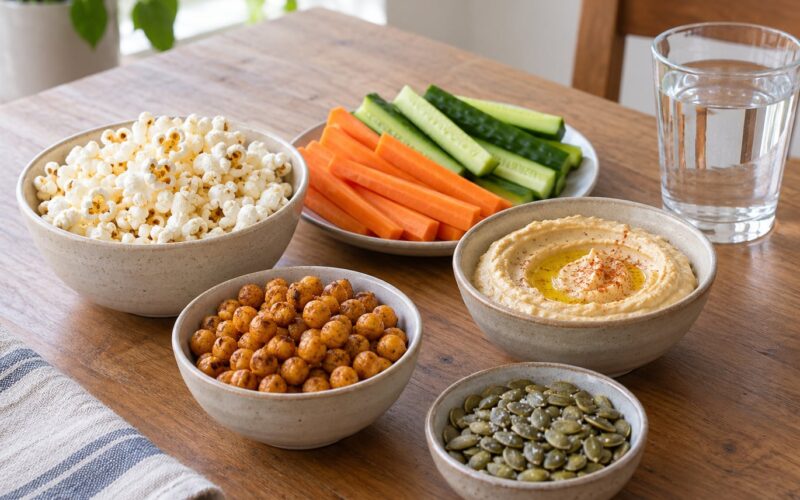
Low-prep staples that carry the most lunches: cooked grains from the freezer section, pre-roasted vegetables, bagged salad kits or washed greens, cut fruit, hummus, Greek yogurt, eggs, and frozen snacks such as frozen fruit bars or veggie nuggets.
Buy for the family, not for the ideal week. If nobody in the house eats quinoa, the first lunch is chickpea pasta salad for everyone. You can introduce a new food as the optional item, never as the main event.
3. Prepare Components Before Assembling
Prep components, not finished meals. Wash and cut produce, cook grains and proteins, and mix dressings in advance. This is the step that turns assembly into a five-minute job.
- Roast a sheet pan of vegetables with matched cooking times so everything is done together. One commenter in a prep community described this as the single biggest time saver; broccoli and peppers need about 20 minutes at 425°F/220°C, softer squash needs longer, so cut the squash smaller.
- Cook a batch of grains and a batch of protein. Shred or slice protein only after it cools enough to handle safely.
- Boil a dozen eggs and store them in their shells in the fridge.
- Mix one dressing in a jar and keep it in the fridge. Dressing in a jar is the glue that makes dry components into meals.
- Slice fruit and hold it in a container with a splash of lemon water if you are packing it more than a day ahead, so cut surfaces do not brown.
Batch what your family actually eats and stop there. A very common and sensible approach on prep forums is to prep two or three days at a time rather than a whole week, which keeps rice tasting decent and stops the fridge graveyard.
4. Build Balanced, Divided Lunchboxes
A balanced kid’s lunch covers five slots: a protein, a whole grain or starchy food, a vegetable, a fruit, and one small fun item. That last slot matters more than parents expect — it is what makes the rest of the box appealing rather than a nutrition lecture.
Assemble in this order so the texture survives:
- Protein first — eggs, chicken, tuna, cheese cubes, hummus, edamame, or leftover meatballs.
- Whole grain or starchy food — whole wheat tortilla, brown rice, quinoa, whole grain crackers, or a small muffin.
- Two vegetables — raw sticks travel better than cooked ones, and two colors is easier to eat than one big pile.
- Fruit — in its own small pot so it does not sit against anything damp.
- One fun item — a cookie, a fruit bar, a small piece of chocolate, or a shape cut with a cookie cutter.
Use compartments or separate pots so sauces, tomatoes and wet fruit never touch the dry items. Pack dressings and dips in a leakproof pot with the lid on tightly. That single habit is what fixes both soggy sandwiches and the crushed crackers.
For your own box, build the same structure with different emphasis: double the protein, choose a higher-fiber grain, add a second vegetable, and skip the fun slot or swap it for something you genuinely want. Portion size is the lever that matters most for adult goals, and the container you chose at the start already handles it.
5. Label, Chill, and Store Lunches Safely
This is where most packed lunches fail, not in the flavor but in the temperature. Perishable food needs to stay at 40°F/4°C or below.
Follow the USDA guidance below and you will stay safe.
- Cook poultry to 165°F/74°C, ground meat to 160°F/71°C, and whole cuts and fish to 145°F/63°C.
- Refrigerate perishable lunches within two hours of preparation. If the day is above 90°F/32°C, the window is one hour.
- Pack cold items with ice packs, and put ice packs both under and over the food in an insulated bag, not just one flat pack at the bottom.
- If you want a hot lunch at school or work with no microwave, preheat a thermos with boiling water, empty it, then fill it with piping-hot food. Add a thick starch like rice or couscous to help it hold heat.
- Freeze a fully chilled lunch rather than a warm one. Half-frozen ice packs do not work.
Label everything with the name and the date. On a shared family fridge, unlabeled containers disappear, and the date tells you at a glance whether something is still in date.
Shelf-life numbers for a home fridge at or below 40°F/4°C:
- Cooked meat, poultry and fish — 3 to 4 days.
- Cooked rice and pasta — 3 to 5 days.
- Cut fruit and cut vegetables — 2 to 3 days.
- Hard-boiled eggs in the shell — about 1 week.
- Soups and stews — 3 to 4 days, and 2 to 3 months frozen.
- Homemade muffins and pancakes — about 4 days refrigerated, or 2 to 3 months frozen in layers with parchment between them.
Packing at night is fine as long as you keep the cold chain intact and wet ingredients separate. For an overnight sandwich, spread mayo or butter on both slices so the bread is sealed, and put wet fillings such as tomato or cucumber in a separate pot. The barrier layer is the whole trick.
6. Add Variety Without Starting From Scratch
Variety comes from swapping one component at a time. Keep two bases in the fridge and rotate what surrounds them.
Five workday ideas that all come from one prep session:
- Monday — Chicken and quinoa bowl with roasted broccoli, dried cranberries, feta, and dressing on the side.
- Tuesday — Quesadilla cut into triangles with corn and black bean salsa in a separate pot, plus cucumber sticks.
- Wednesday — Pasta salad with chickpea pasta, cucumber, cherry tomatoes, and a mild vinaigrette. Tomatoes travel better when drained.
- Thursday — Deconstructed lunch: a mini muffin, halved boiled eggs, cheese cubes, and raw veggie sticks arranged apart on the tray.
- Friday — Pinwheels from a whole wheat tortilla with cream cheese and shredded chicken, rolled and sliced, plus a fruit bar.
Each of those works for the adult at the same table too: double the protein, add a second vegetable, and portion the grain yourself. One more idea cuts prep time in half — if you cooked dinner the night before, plan half of tonight’s leftovers into tomorrow’s lunch before you eat.
For a kid who rejects food, the widely used approach is a safe food plus one learning food on the same plate, offered without pressure and without a required taste. Keep the safe food generous and make the new food tiny and adjacent, not touching. Follow your own family’s needs and any advice from your pediatrician; there is no single right approach, and pressure rarely moves a kid toward a food.
Common Mistakes and the Fix for Each
Planning seven brand-new meals. Prep fails when the week looks exciting on paper. Fix: use two to three foods the family already eats, and add at most one new item as an optional extra.
Packing only fruit and vegetables. Produce alone will not hold a kid until dinner. Fix: make sure the protein and grain slots are filled first, and treat the produce as the sides.
Skipping the protein. This is the most common gap in a home-packed lunch. Fix: keep eggs, cooked chicken, canned tuna, hummus and yogurt on the prep list every week.
Using full adult portions for young children. A big box looks generous but usually comes home half full. Fix: use the small container for a young child’s main, then let them take from the family dish if they want more.
Sending a lukewarm or unrefrigerated lunch. Fix: two ice packs, one above and one below, packed into an insulated bag. If the day is hot, use the thermos approach instead.
Preparing seven days at once. Food quality drops and you end up throwing it away. Fix: prep two or three days at a time, and freeze the rest right away in flat bags.
Packing wet food against dry food. Fix: a leakproof pot with the lid snapped shut, plus a barrier spread on bread for overnight sandwiches.
Forgetting the school rules. Fix: check nut-free policy, microwave access and mess rules before the container type, not after.
Frequently Asked Questions
How long can a packed lunch stay safe?
Keep perishable lunches at 40F/4C or below, which means an insulated bag with two ice packs, one under the food and one over it. Refrigerate within two hours of preparation, or within one hour when the day is above 90F/32C. Cook poultry to 165F/74C, ground meat to 160F/71C, and whole cuts and fish to 145F/63C.
What are easy healthy lunch ideas for picky kids?
Start with foods your child already eats and reliably likes, then add one small learning food next to it rather than in place of it. Good travel options are crackers with cheese cubes, deconstructed mini muffins, halved boiled eggs, raw veggie sticks, fruit in a separate pot, and rolled pinwheels. Offer without pressure and let quantity be their call.
How can I make the same prepped lunch appealing to both kids and adults?
Cook one plain base, then season and finish two ways at assembly time. Your portion gets double the protein, a higher-fiber grain, a second vegetable and a portion you control. The kid portion gets smaller volumes, familiar flavors and one fun item. Seasoning separately is what stops one of you from eating bland food all week.
Can I freeze lunches for school or work?
Yes, for many meals. Freeze fully cooked and fully chilled lunches in airtight containers or flat freezer bags, leaving headroom in rigid containers. Expect about two to three months for most cooked meals, and thaw overnight in the fridge. Freeze the ice pack solid separately. Very crisp or fresh items like lettuce and raw vegetables do not freeze well.
How should I pack lunches for a child with a food allergy?
Avoid the allergen entirely and check labels every shopping trip, because formulations change. Pack the lunch at home, use a dedicated container and wipe the table and hands before handling food. Some families choose a thermos or sealed container so the food only touches surfaces they control. Ask the school about its specific policy and make sure any medication plan is written down.
What foods can I prepare ahead for lunches throughout the week?
Cooked grains, roasted vegetables, boiled eggs, shredded cheese, roasted or poached chicken, hummus, yogurt dips, hard vegetables, washed greens and cut fruit all hold well for two to three days in the fridge. Cooked meat keeps three to four days and cooked rice or pasta three to five. Freeze soups, stews and homemade muffins for longer storage.
Conclusion
Start small this week. Pick two base meals your family already eats, spend one hour prepping components rather than finished meals, and pack Monday and Tuesday in divided containers with wet ingredients kept separate. Add your own portion with extra protein and a portion you control.
Once that works, extend to three or four days at a time, label everything, and keep two ice packs in the bag. Adjust portions, flavors and dietary needs to fit your household, and follow your own family’s guidance where health or allergies are involved.