Progressive overload means gradually making a movement harder over time so your muscles keep adapting. It does not mean heavier weights every session. Learning how to progressive overload as a beginner comes down to four habits: pick a rep range, write down every set, change one variable at a time, and increase only when the top of the range feels easy. This is why progressive overload for beginners is mostly bookkeeping, not brawn.
A full week of this method takes about 20 minutes of planning and five honest minutes of note-taking. It suits bodyweight work, dumbbells, bands or machines, and you can start on your first session without buying anything.
Table of Contents
- What You Need
- Step-by-Step: How to Progressive Overload as a Beginner
- Step 1: Establish a Beginner Baseline
- Step 2: Choose One Way to Progress
- Step 3: Increase the Challenge Gradually
- Step 4: Keep the Same Rep and Effort Targets
- Step 5: Give Your Body Time to Adapt
- Step 6: Review Progress and Adjust
- Common Mistakes
- Frequently Asked Questions
- Do I need weights to use progressive overload?
- How much weight should a beginner add?
- How often should I increase my exercise difficulty?
- What should I do when I stop getting stronger?
- Is muscle soreness a sign that I progressed correctly?
- When should I stop exercising because of pain?
- Start Small and Progress Consistently
What You Need
Almost nothing. The list is short because the method itself is simple.
- One stable movement you can repeat for months, like a squat, a push-up or a hip hinge.
- Two or three sessions a week, roughly 48 hours apart, so each muscle group trains again after recovering.
- A simple log — paper notebook, phone notes or a spreadsheet all work. The medium matters less than consistency.
- Comfortable clothing, water and a surface that lets you control the movement, not wobble.
Begin with bodyweight or light resistance, and choose a movement where you can slow the lowering phase. Controlled form is the prerequisite; load is optional.
Step-by-Step: How to Progressive Overload as a Beginner
Step 1: Establish a Beginner Baseline
Pick a resistance that leaves you with roughly two good repetitions in reserve, meaning you could do two more with clean form. Do two or three controlled sets and write down the repetitions, the resistance, how the movement felt, and roughly how hard it was out of ten.
That entry is your baseline. Every later session is compared against it, which is the only reason progress becomes visible at all.
Step 2: Choose One Way to Progress
Beginners usually assume only weight counts. It doesn’t. In order of simplicity, your options are:
- Add repetitions to the same set.
- Add a little more resistance.
- Use a deeper, more controlled range of motion.
- Shorten the assistance, such as removing a wall or a knee-down variation.
- Slow the tempo, for example three seconds down instead of one.
Change one variable at a time. If three things change between sessions, you learn nothing about what actually moved the needle.
Step 3: Increase the Challenge Gradually
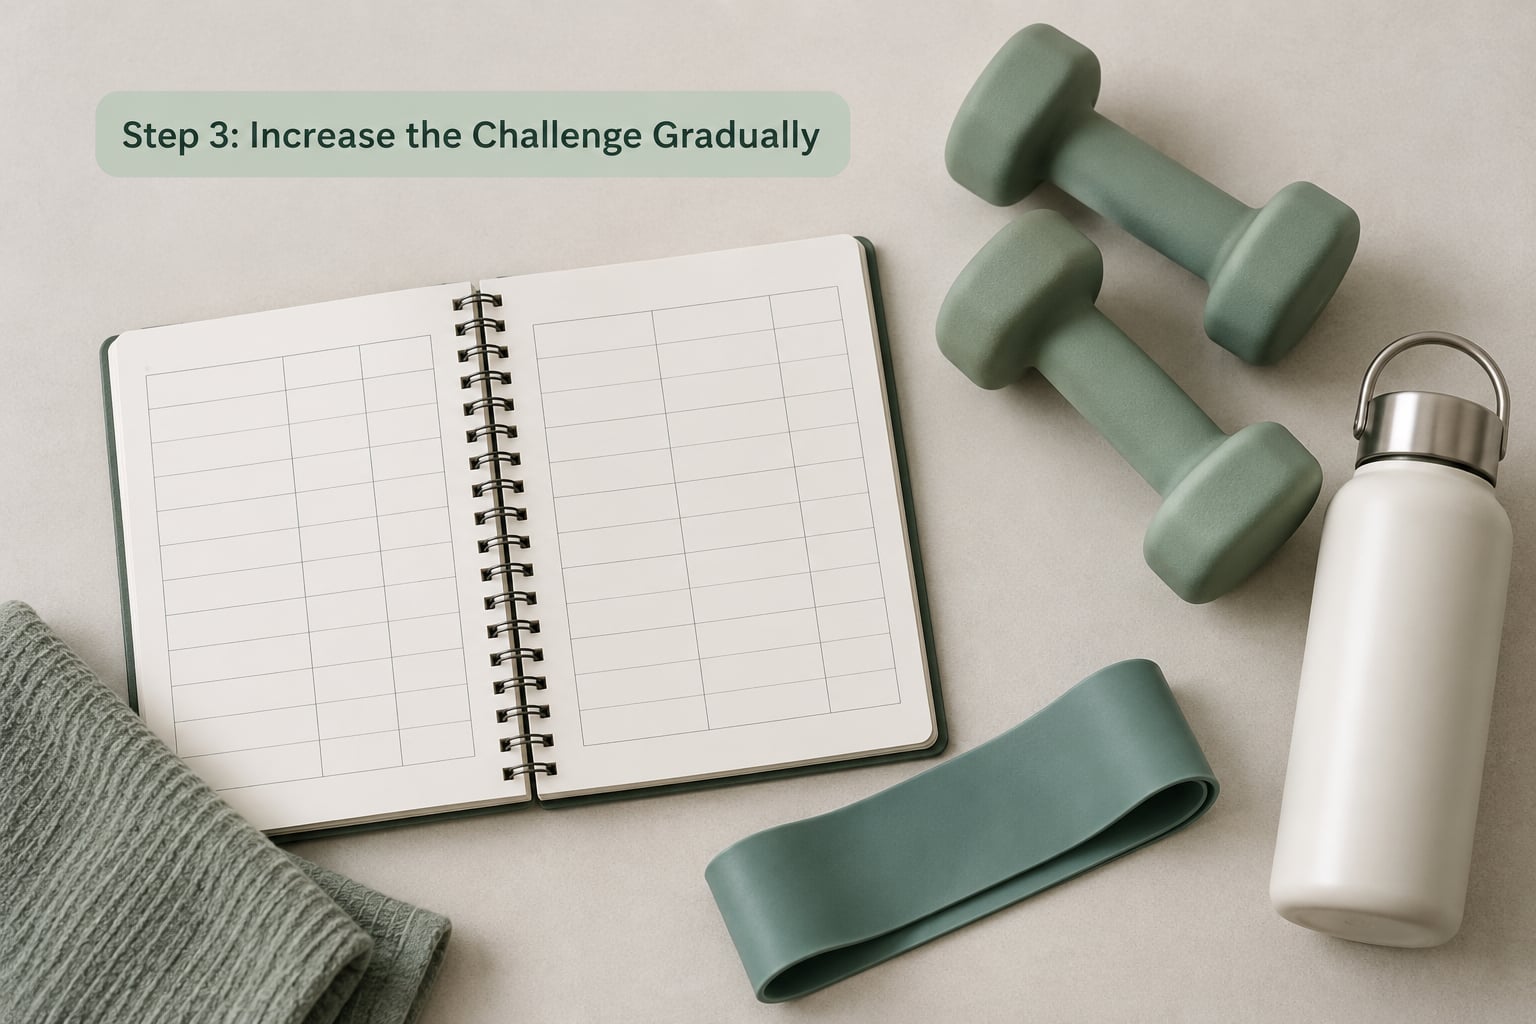
Here is the arithmetic most beginners find useful. Week one: two sets of eight comfortable bodyweight squats. Week two: two sets of ten. Week three: two sets of twelve. Week four: the same twelve reps, but with light resistance added.
The two-repetition reserve method is the trigger. When the last set reaches the top of your chosen rep range and two reps still feel genuinely easy, add one small step. Small steps are why this method does not wear you out or hurt you — the load rises faster than your recovery falls behind it.
Step 4: Keep the Same Rep and Effort Targets
Repeat the same movement with the same rules across comparable sessions. Count a repetition only when the technique holds, keep the tempo steady, and resist the urge to change sets, reps and resistance in the same week.
Most stalled beginners are not under-training. They are changing too many things to learn from any of it.
Step 5: Give Your Body Time to Adapt
The adaptation happens after the workout, not during it. Rest days, sleep, ordinary meals and water are what turn a hard session into a stronger one. I am not going to hand you a meal plan here — that is a separate job, and our nutrition guides cover it.
Telling normal muscle effort from a warning sign is simple. Effort is dull, broad and symmetrical, and it settles within a day or two. Sharp pain, dizziness, loss of control, or discomfort that lingers past a few days are different animals. Stop and get it checked.
Step 6: Review Progress and Adjust
Look at your log after two or three sessions, or once a week. Look for more repetitions at the same resistance, better control through the same range, less effort for the same output, or a cleaner pause at the bottom.
Then make exactly one decision: add a small step, repeat the current level, or step back a little. If technique has slipped for two sessions in a row, step back and rebuild. If you are new to resistance training or have a joint, heart or back condition, ask a doctor or a qualified trainer where your ceiling should sit.
Common Mistakes
- Jumping ahead too fast. Fix: add the smallest available step and hold it for two sessions before moving again.
- Loading up before the form is there. Fix: film one set, fix the two worst points, then add resistance.
- Progressing every single workout. Fix: treat an increase as something you earn across two or three comparable sessions.
- Chasing failure. Fix: keep two repetitions in reserve and stop the set when form changes.
- Changing several variables at once. Fix: write down the single change at the top of each log entry.
- Switching exercises every week. Fix: stay on one movement long enough to actually adapt to it.
- Ignoring pain and poor recovery. Fix: drop back a step, add a rest day, and ask a professional if it keeps happening.
Two habits do most of the work: log it the same way every time, and make your increases boringly small. That is the whole method.
Frequently Asked Questions
Do I need weights to use progressive overload?
No. Weight is only one of several ways to make a movement harder. You can add repetitions, deepen your range of motion, slow the lowering phase, pause at the hardest point, cut the assistance or add sets. Bodyweight and resistance band progressions work well for the first months because the increments are tiny and easy to control.
How much weight should a beginner add?
Add the smallest step your equipment allows, and only when the top of your rep range feels easy with about two repetitions still in reserve. Small plates often jump in 5 lb or 2.5 kg steps, so a finer change might be two extra repetitions or a slower tempo before you touch the weight. For your individual starting point, a doctor or qualified trainer can advise.
How often should I increase my exercise difficulty?
Most beginners see a useful change every one to three sessions on the same movement, so look at your log weekly rather than assuming progress should happen each workout. If the last set still feels genuinely hard at the top of your range, hold the level for another session. Fatigue from sleep, work or stress counts as a reason to wait too.
What should I do when I stop getting stronger?
Check three things before changing the programme: are you logging accurately, are you sleeping and eating enough, and are you changing one variable at a time? Then try a smaller step, a pause in the hardest position, or a longer range of motion for two weeks. If nothing moves, drop back about ten percent and build again from there.
Is muscle soreness a sign that I progressed correctly?
Soreness means something new happened, not that you progressed correctly. Muscle effort comes from tension you controlled; joint pain comes from a joint under strain. Soreness usually fades within a day or two and should not get worse each week. A useful increase can happen with almost no soreness at all, so judge sessions by your log, not by how your muscles feel the next morning.
When should I stop exercising because of pain?
Stop the set immediately for sharp or sudden pain, pain that runs down a limb, a popping sensation, dizziness, chest pain, or any loss of control during the movement. Get medical advice before training again, especially if the pain is in a joint rather than a muscle, or if you have a heart, joint or back condition. Sharp pain is information, not a hurdle to push through.
Start Small and Progress Consistently
Record a baseline you can repeat, add one small challenge at a time, and keep controlled movement and recovery ahead of any number on the log. Do the first useful increase this week by adding two repetitions or a small amount of resistance — one change, then write it down.