To do a proper squat as a beginner, stand with your feet hip- to shoulder-width apart, push your hips back and down while keeping your chest up, then drive through your heels to stand back up. The whole thing takes about a minute, needs no equipment, and gets easier with a few careful repetitions a day. Updated for 2026.
Most beginners I see get two things wrong straight away: they bend their knees forward instead of sending their hips back, and they look at the floor the entire rep. Both are fixable the same day you notice them.
Table of Contents
- What You Need
- Step-by-Step: How to Do a Proper Squat for Beginners
- Set Your Stance and Feet
- Brace Your Body
- Sit Back and Bend the Hips
- Descend to a Comfortable Depth
- Stand Up and Finish the Repetition
- Check Your Squat Form
- What to Do When It Feels Wrong
- Common Mistakes
- Beginner Tips and Simple Progressions
- Frequently Asked Questions
- How deep should a beginner squat go?
- Should my knees pass over my toes when I squat?
- Can beginners use a chair to help with squats?
- Where should I put my arms while squatting?
- Are wall squats useful for learning proper form?
- How many beginner squats should I do each session?
- Conclusion
What You Need
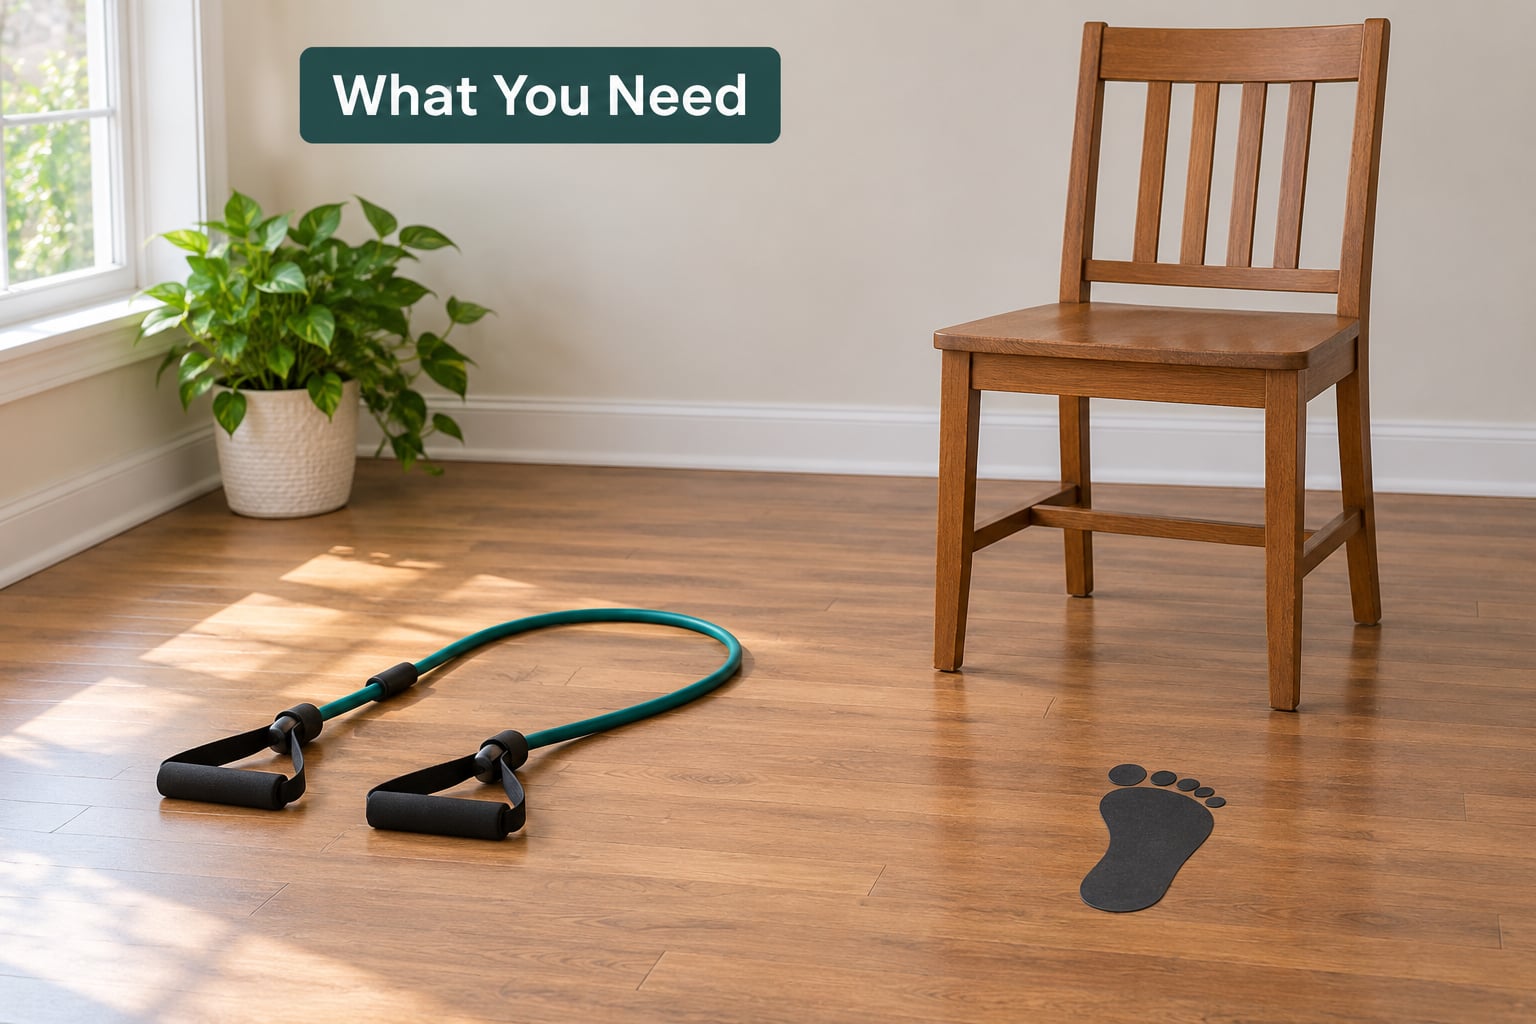
Nothing. Your body weight is the resistance for the first few months, and that is genuinely enough to build the movement pattern.
Do wear something you can move in, thin-soled trainers or bare feet both work, since thick soles make balance harder. You also need a patch of floor with a bit of space in front of you and nothing to trip on.
Three optional aids help beginners more than any piece of gym equipment:
- A sturdy chair for a box squat. Touch it lightly, then stand back up. It gives you a target for depth and a hand-off for the hardest reps.
- A wall for wall sits and wall squats, where your back stays supported while your hips travel down and forward.
- A light resistance band around your knees. Push gently outward against it the whole rep and the band stops your knees collapsing in on their own.
Step-by-Step: How to Do a Proper Squat for Beginners
Set Your Stance and Feet
Stand with your feet about hip-to-shoulder-width apart and turn your toes out roughly 5 to 20 degrees. Weight belongs in the whole foot, heels as much as the balls of your feet.
You have arrived correctly if you can lift and tap each heel without wobbling. If you cannot, move your feet a little closer together or point the toes out a few more degrees.
Brace Your Body
Take a breath, let it out, then tighten your stomach as though bracing for a shove, keeping the chest tall and shoulders down. Think of the ribs staying stacked over the pelvis rather than flaring forward.
A useful check: your lower back should look naturally curved, not flattened and not arched. Breathing is normal during this lift, so do not hold your breath to brace harder.
Sit Back and Bend the Hips
Send your hips straight back, the way you would to sit into a chair, and let the knees bend as a consequence of that. Weight stays spread through the whole foot the entire way down.
If your chest drops toward the floor first, you are bending at the waist. Reset and lead with the hips, because that is what loads the glutes instead of the lower back.
Descend to a Comfortable Depth
Depth is individual. Go as far as you can while keeping both heels on the floor, your knees pointing the same way as your toes, and your back in that natural curve.
For many beginners, that point is roughly where the hip crease reaches the top of the knee. A controlled half squat with perfect shape beats a deep one that wrecks your form, so hold the range you can actually control.
Stand Up and Finish the Repetition
Press through your whole foot, more heel than toe, and squeeze your glutes at the top to finish standing tall. Your hips and knees extend together at the same speed.
Watch out for the two most common endings: locking or snapping the knees at the top, and letting the torso flop forward at the end. Slow that last two inches down and the whole rep looks deliberate.
Check Your Squat Form
Run this five-point check on every rep, or once every few reps while you are learning:
- Feet stay flat, all five toes still touching the floor.
- Knees track in the same direction as your toes, no caving inward.
- Hips travel back and down, staying roughly level across the hips.
- Upper body stays tall with the chest proud and the back neutral.
- Breathing continues normally, with no breath holding.
A phone on the floor at a 45-degree angle to your front foot is the cheapest form check there is. Set it, do five slow reps, then watch the video at half speed and note the first thing that broke down.
What to Do When It Feels Wrong
If your heels come up, try a narrower stance or turn your toes out slightly. If your knees cave, squeeze your glutes before you descend and think about pushing the floor apart rather than pushing your knees out.
Most fixable form problems are mobility problems wearing a costume. Tight ankles and tight hip flexors stop the hips from travelling back, and the body compensates by leaning forward.
Common Mistakes
Almost every fault I see falls into one of these seven buckets, and each one has a straightforward correction.
| Mistake | Why it happens | How to fix it |
|---|---|---|
| Heels lifting off the floor | Ankles are tight or dorsiflexion is limited | Narrow your stance a little, add a heel wedge or a rolled towel, and work on ankle mobility |
| Knees collapsing inward | Weak glute and side-of-hip control, or too much weight up front | Add a light band around the knees and push outward the whole rep; strengthen glutes first |
| Rounding the lower back | Lifting heavy, or losing the brace as fatigue sets in | Cut the depth and the load, and brace harder before each descent |
| Looking down at the floor | Habit from the gym, which pushes the neck and torso forward | Pick a spot a few feet ahead at eye level and hold it |
| Leaning too far forward | Attempting depth before the hips can move back | Reduce depth first, then unlock the hips with daily mobility work |
| Holding your breath | Treating bracing as a chest squeeze | Breathe in at the top, breathe out slowly as you stand up |
| Forcing depth | Believing one standard applies to everyone | Squat to the depth your ankles and hips allow today and earn the rest |
Two myths are worth clearing up now. Knees passing over the toes is not automatically a problem: the knee travels forward when the hip sits back, and plenty of pain-free deep squatting happens with the shin leaning slightly ahead of vertical. And squats do not damage healthy knees, they build the muscles that support them.
Beginner Tips and Simple Progressions
Start small and stay there until it feels boring. Two or three sets of 10 to 15 slow, controlled reps, two or three times a week, is plenty for the first month.
When the movement is solid, make one change at a time. Add reps up to 20 per set, then add a set, then lower the tempo on the way down. Depth and load come last.
To make squats easier right now, reduce the range, shorten the hold, or use a chair for support on every rep. To make them harder, hold a light weight at chest height like a goblet squat, pause for two seconds at the bottom, or slow the descent to three seconds.
A quick warm-up helps more than most beginners expect: five bodyweight hip hinges, five squat holds against the wall, ten ankle circles each way, ten leg swings, and two minutes of walking.
Stop the set if you feel sharp joint pain, dizziness, or loss of balance. Muscle burn in the quads and glutes is normal, especially in the first couple of weeks. Joint pain that lingers into the next day is worth raising with a doctor or physiotherapist rather than pushing through.
Frequently Asked Questions
How deep should a beginner squat go?
Go as deep as you can control with flat heels, knees tracking outward, and a neutral-looking back. For most beginners that lands around hip crease level with the top of the knee. Depth that comes with a rounded back or lifted heels is not a bonus, it is a form problem. Work on ankle and hip mobility and the depth will follow.
Should my knees pass over my toes when I squat?
It depends on your body, and mostly it does not matter. When you push your hips back, your shin naturally travels slightly forward at the bottom. That is normal for deep squatting and is not the same as your knees collapsing inward. Judge your depth by your heels staying down and your knees pointing where your toes point.
Can beginners use a chair to help with squats?
Yes, and it is one of the best beginner tools. Stand a little in front of a sturdy chair, lower until you lightly touch the seat, then stand straight back up. It gives you a clear depth target, keeps you honest about depth you cannot yet control, and takes away the fear of falling backward while you learn the pattern.
Where should I put my arms while squatting?
Extend your arms straight out in front at shoulder height, or clasp your hands loosely in front of your chest. Either position works and helps balance. Keep your shoulders down and relaxed rather than shrugged up toward your ears, because a bunched upper body tends to pull your torso forward.
Are wall squats useful for learning proper form?
They are, mostly as a teaching tool. With your back flat against the wall, your hips slide down and forward as far as your knees allow, and you cannot cheat by rounding your back. Once the wall version looks comfortable and controlled, move away from it and let your hips travel back instead of forward.
How many beginner squats should I do each session?
Two or three sets of 10 to 15 slow reps, two or three times a week, is a solid starting point for an absolute beginner. That is enough to learn the pattern without wrecking you. Rest a minute or two between sets, and stop the set when your form starts to fade rather than pushing to a failure.
Conclusion
Right now, forget depth and forget weight. Do five slow bodyweight squats in front of a mirror or a phone, with your feet planted, your knees pointing where your toes point, your hips travelling backward, and a range you fully control. Do that most days for two weeks, then add five reps. That single habit is how to do a proper squat for beginners without picking up a bad one.