To use resistance bands at home, pick a light tension, inspect the band for cracks, anchor it with your feet or a solid door anchor, and move slowly through each rep so the band stretches under control. A full session takes 10 to 20 minutes and needs no gym membership, which is why it works so well for beginners.
A resistance band is a stretchy loop or strap made of latex, synthetic rubber or fabric. You pull against it and the tension loads your muscles through the whole range of motion, so a 15-pound pull that starts easy becomes harder the further you stretch it. That rising tension is why a light band feels genuinely difficult by the end of a set.
This guide covers setup, four beginner exercises, how many sets and reps to do, and what to change when you outgrow the band. If you have never trained before, read the mistakes section before your first session, not after.
Table of Contents
- What You Need to Start Using Resistance Bands at Home
- The band types you will see
- How to choose a starting tension
- What to Attach Resistance Bands to at Home
- Step-by-Step: How to Use Resistance Bands at Home
- Set Up Your Band and Space
- Warm Up with Light Band Movements
- Perform the Beginner Exercises
- Add These Four Once the First Four Feel Easy
- How to Use Resistance Bands at Home for Beginners: Sets, Reps and Rest
- Finish with a Cooldown and Progress
- What If You Do Not Own a Band Yet
- Common Mistakes
- Frequently Asked Questions
- How do you use resistance bands for beginners?
- What do you attach resistance bands to at home?
- How heavy a resistance band should I start with?
- Why do my resistance bands keep rolling up my thighs?
- Do resistance bands help you lose belly fat?
- Do resistance band workouts actually work?
- Conclusion
What You Need to Start Using Resistance Bands at Home
A resistance band, roughly six feet of clear floor space, and a solid chair are genuinely all it takes. Everything else is optional and adds convenience rather than results.
The band types you will see
Standard tube bands come as a long flat strip with a handle at each end. Loop bands are pre-sewn into a circle and usually sit above the knees or around the thighs. Mini bands are short loops for the glutes, biceps and ankles. Handled bands already have grips, so your hands stop sliding. Fabric bands are woven rather than smooth and grip far better, though they cost a little more.
| Band type | Best for | Watch for |
|---|---|---|
| Standard tube band | Rows, presses, curls, squats | Needs a door anchor for anchored work |
| Loop band | Glute work, banded squats, pull-aparts | Rolls up the thighs if it is loose |
| Mini band | Biceps, ankles, shark fins | Too light for larger adults at first |
| Handled band | Beginners and grip-sensitive hands | Fixed tension, no easy adjustment |
| Fabric band | Hip and leg work, sweaty hands | Less stretch than latex at low tension |
If you react to latex, use synthetic rubber or fabric. If you have no band yet, a long-sleeve shirt or a heavy backpack with books or water bottles inside gives you something to work with on day one.
How to choose a starting tension
Choose a resistance where the last three reps of a set feel hard but your form still holds. Colour codes differ between brands, so read the packaging chart rather than trusting the colour. A common ladder runs extra light, light, medium, heavy and extra heavy, and most multi-band sets cover that range.
Two or three tensions beat one. Beginners who start too heavy quit within a few weeks because every session feels punishing, and a single thick band leaves you unable to make an exercise easier when you need to.
What to Attach Resistance Bands to at Home
This is the question that trips up most beginners, because the obvious answers in a living room are the worst ones. A band stores roughly the same energy as a small weight on a spring, and that energy goes somewhere the moment the band releases.
| Anchor | Verdict | Notes |
|---|---|---|
| Sturdy dining chair with a solid back | Good | Push it against a wall and load the band before you sit or stand |
| Purpose-made door anchor with a safety sleeve | Good | Check the strap and carabiner each session |
| Fixed floor-level bar or railing | Good | Wrap the band a second time for more tension |
| Heavy dumbbell or kettlebell on the floor | Workable | Stable, but check it does not roll under load |
| Doorknob | Avoid | Turns, loosens and lets the band slip free |
| Gas or oven handle, radiator | Avoid | Hot, delicate, and it can move when loaded |
| Freestanding shelf or bookcase | Avoid | Top-heavy furniture tips under repeated load |
| Handrail on stairs | Avoid | Brings your balance into an exercise that already tests it |
Testing the anchor takes five seconds and prevents most of the worrying accidents people describe. Stand clear, load the band to roughly the tension you plan to work at, and watch what moves. If anything shifts, creaks or rotates, pick a different anchor.
Your feet and hands are the two anchors you will use most, and they are the safest. Standing on the middle of a tube band for curls, squats and rows removes every hardware question entirely, which is why the exercises below do not need a door.
Step-by-Step: How to Use Resistance Bands at Home
Set Up Your Band and Space
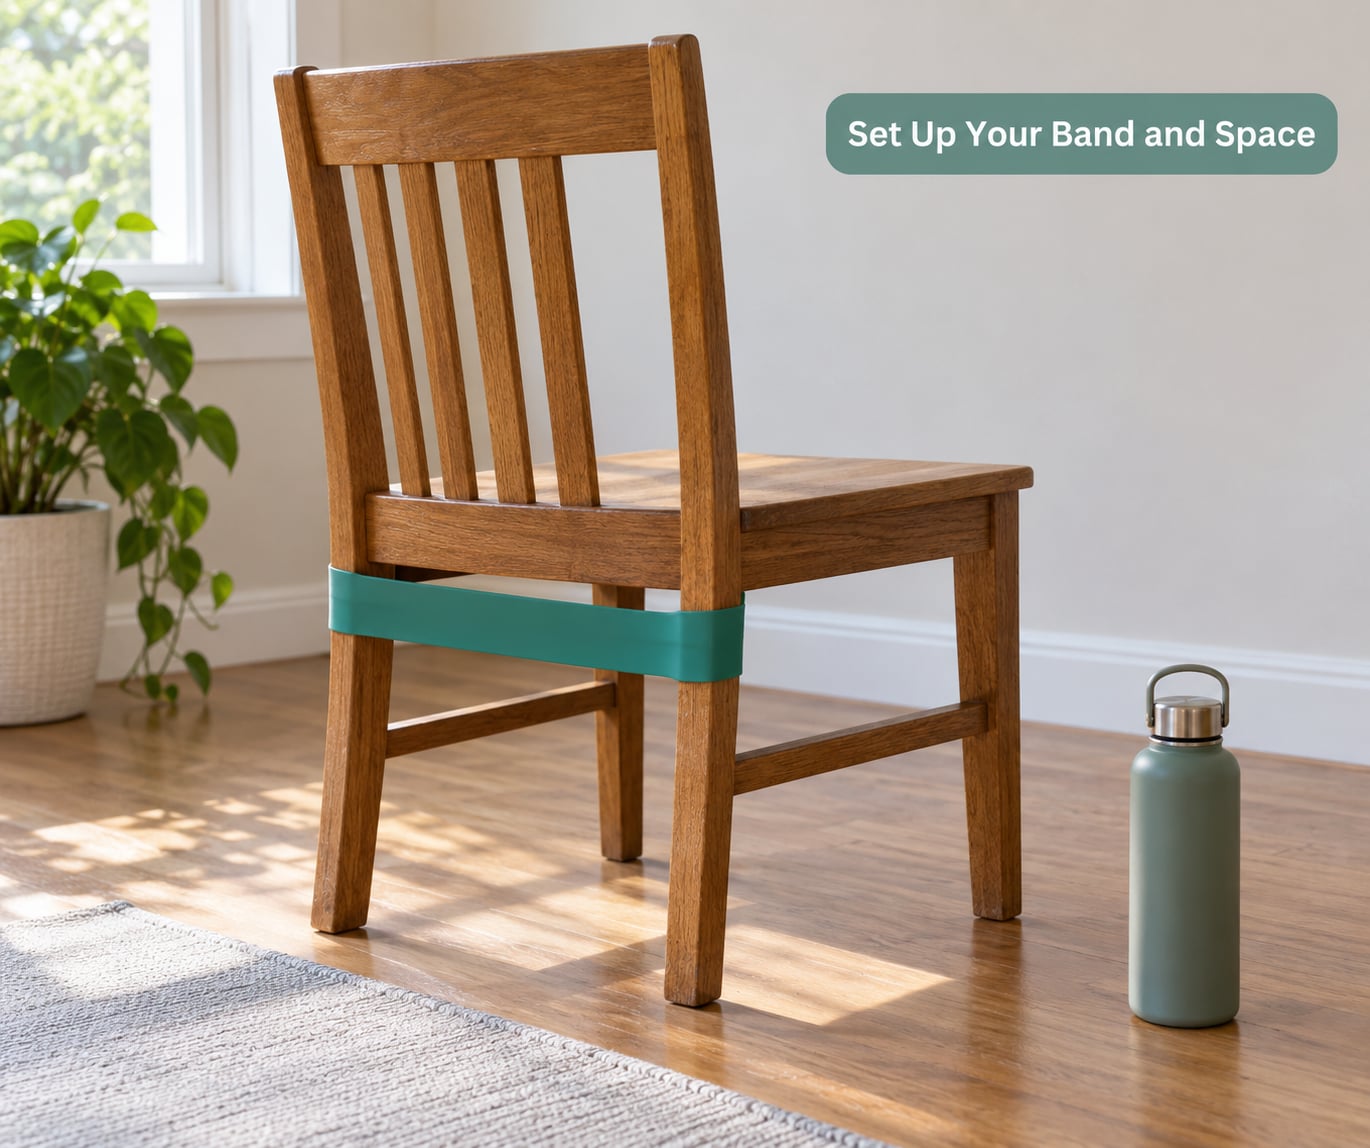
Run the whole band through your hands before anything else. Look for nicks, whitening, thin spots, cracks or a stretched patch that feels different from the rest, and throw out any band that has them. Bands fail without warning, and a frayed band snapping across your face is the injury people worry about most.
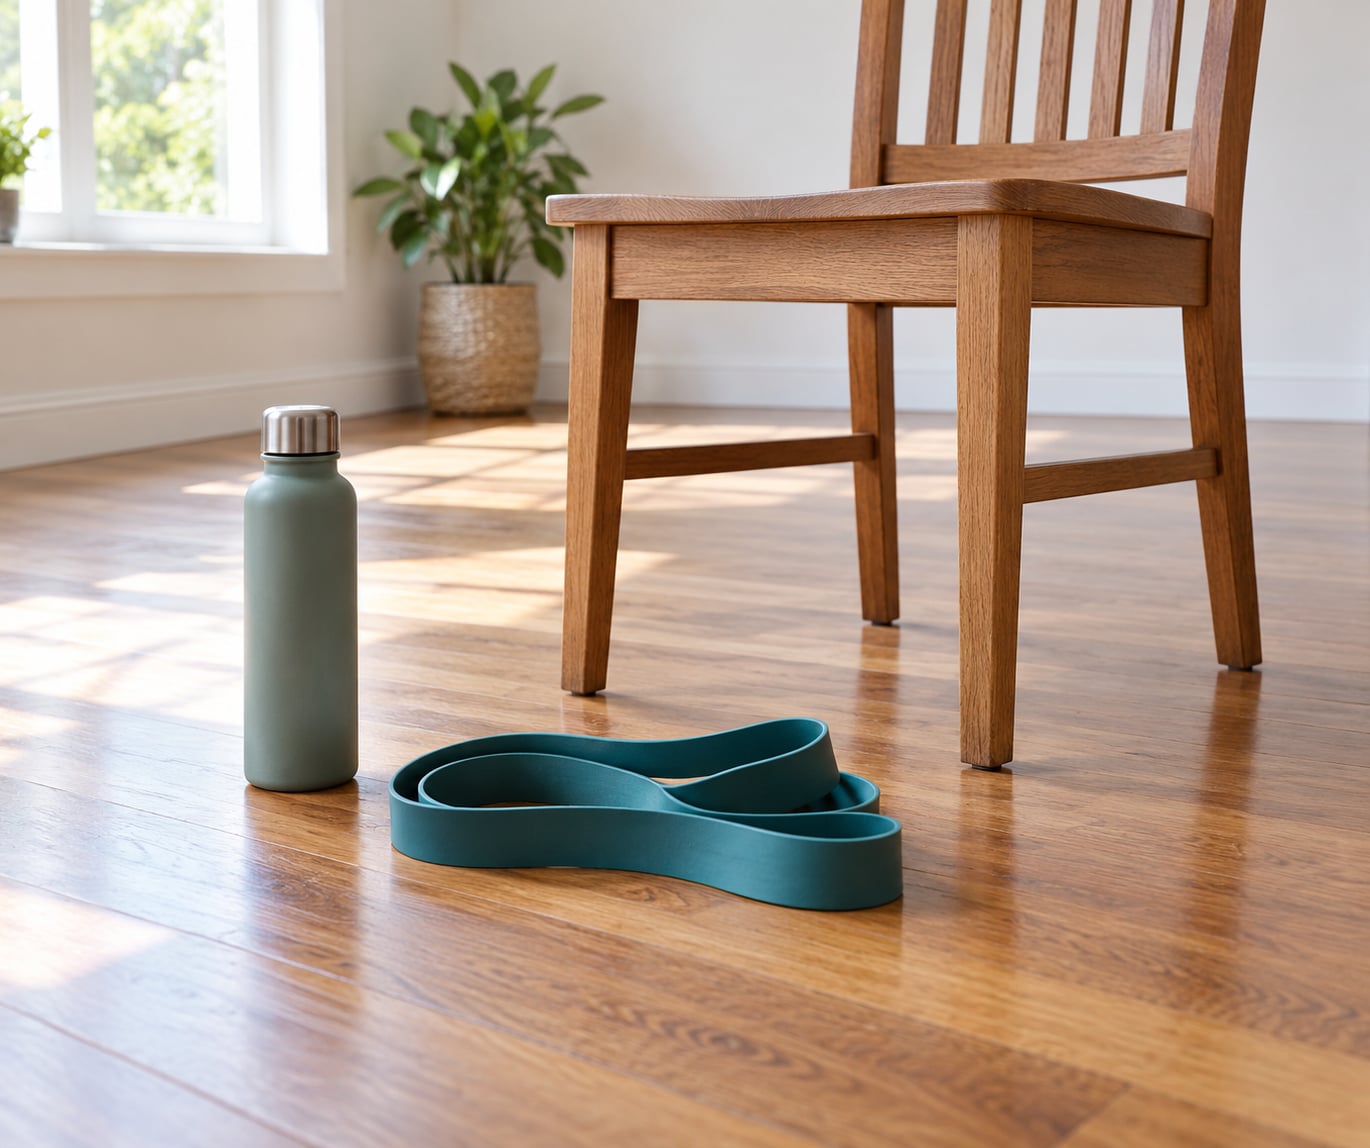
Then clear the space. Walk the area first and move anything breakable or sharp. Anchor the band by passing it around the chair’s lower rail or through the chair back, pull the chair against a wall, and load it gently before you stand up. Keep a water bottle nearby and let the room breathe. A band is a spring; treat the room like a workshop, not a living room.
Warm Up with Light Band Movements
Take five minutes before the first working set. Start with five minutes of easy marching or walking in place, arms loose, to raise your heart rate without spikes.
Then move the joints through their range. Circle the shoulders backward ten times each way, open and close the chest with arms wide, and take ten gentle hip circles per side. Add ten bodyweight squats with a slow count.
Only after that do you touch the band, and only your lightest one. Five pull-aparts with your arms straight out front, then ten banded knee bends with a very light loop. If you feel stiffness or pain during this stage, skip the workout rather than training through it.
How you know the warm-up worked: by the time you pick up the band, your breathing has come up and the first set feels smoother than it would have cold.
Perform the Beginner Exercises
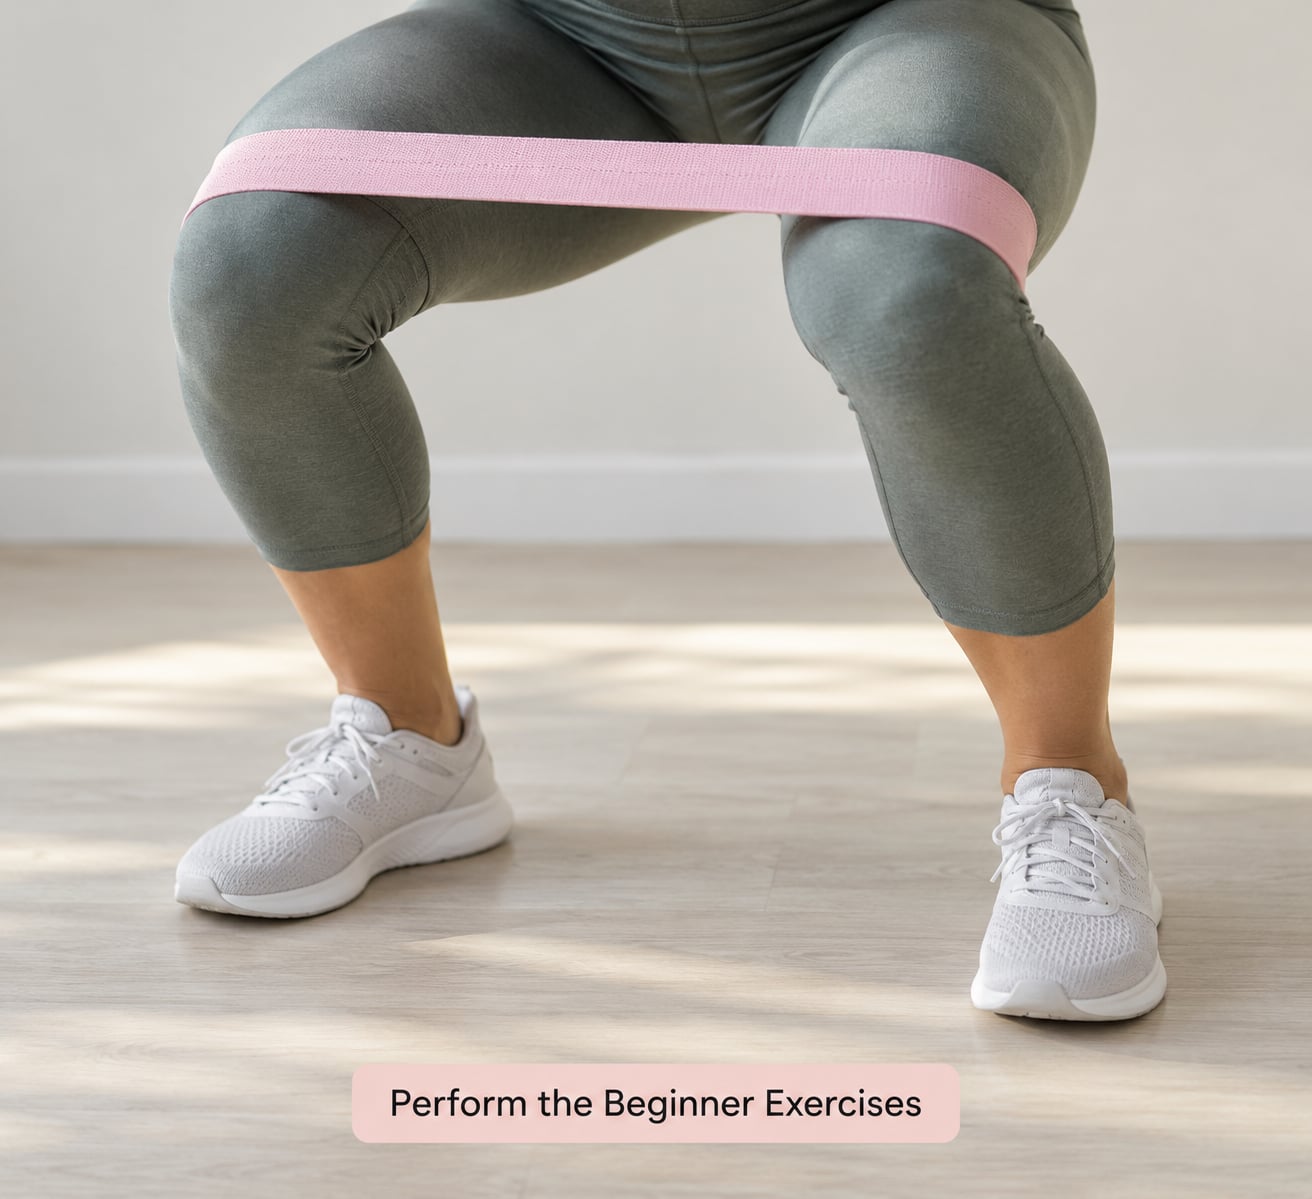
Four movements cover almost everything a beginner needs. Do them in this order, big muscles first, and log what you finished.
Band row (back and biceps). Sit on the floor with legs straight out. Loop the band around your feet before your heels, cross the ends over your chest, and lean back slightly with a long spine. Pull your hands toward your ribs, squeeze your shoulder blades together, then let them travel forward slowly until your arms are straight. Ten to fifteen reps.
Banded squat (legs and glutes). Stand with feet hip-width apart and the loop band above your knees. Push your knees out against the band, send your hips back, and squat until your thighs are roughly parallel to the floor. Drive through your whole foot to stand. Eight to twelve reps, because legs get tired fast.
Biceps curl (arms). Stand on the middle of a tube band with hands at your sides and palms forward. Curl one hand toward that shoulder without letting your elbow drift behind you, lower under control, then switch. Ten to fifteen reps per arm.
Glute bridge (glutes and hamstrings). Lie on your back with knees bent and feet flat. Loop a mini band above your knees, press them gently outward, then lift your hips until your body forms a straight line from knees to shoulders. Squeeze at the top for one second, lower slowly. Twelve to fifteen reps.
Every rep has a pushing phase and a returning phase. The return is where beginners cheat, and it is also where the muscle does the most work, so slow it to about two seconds.
Add These Four Once the First Four Feel Easy
When two sessions in a row finish with good form and nothing feels near failure, add these rather than immediately buying a heavier band.
Chest press. Anchor a tube band at chest height behind you, step forward until your arms are straight, then press your hands forward until your arms lock out lightly. Lower back to the start. Eight to twelve reps. Keep your ribs down so the movement comes from the shoulders, not a lean.
Overhead press. Stand on the middle of a tube band, hands at shoulder height, palms forward. Press up until your arms are overhead and your ears stay clear of the band. Ten to twelve reps. If your lower back arches, the tension is too high for today.
Standing lat pulldown. Band anchored overhead or looped through a door anchor at the top. Start with arms reaching up and a slight lean back, then pull your hands down to your ribs, squeezing your shoulder blades. Ten to fifteen reps. The squeeze at the bottom matters more than the weight you move.
Hamstring curl. Loop a band above one ankle and anchor the other end under your heel or to a chair base. Stand tall and curl that heel toward your glute, then lower slowly. Twelve reps per side, holding a wall if you wobble.
Between exercises, thirty to sixty seconds is plenty. Longer rests make the next set easier, which is fine if you are rebuilding after time off and unhelpful if you are chasing a real effort.
How to Use Resistance Bands at Home for Beginners: Sets, Reps and Rest
Start with two sets of 10 to 12 reps per exercise, resting 60 to 90 seconds between them. Rest the same amount between exercises in your first two weeks. Aim to finish each set in roughly 40 seconds, which keeps a four-movement session near 12 minutes.
Add a third set only once the second one stops feeling hard. The American Heart Association advises muscle-strengthening work on two or more days a week alongside 150 minutes of moderate aerobic activity, so three band sessions plus two walks covers the guideline comfortably.
Write the date and your reps in a phone note after each session. Beginners tend to believe they are progressing when they are not, and a log settles that in five seconds.
Finish with a Cooldown and Progress
Hold the last stretch of each muscle group for 20 to 30 seconds: chest, lats, hamstrings, hips and calves. Walk for two or three minutes afterwards until your breathing settles back to normal. Skipping this is fine, but the cooldown stops you from ending a session with everything tight.
Progress in this order. First, add reps within your existing range, moving from 10 to 12 to 15. Next, add a third set. Then add a fourth week of a fourth movement. Only after those should you step up a tension, and then by the smallest step available.
A simple four-week plan: weeks one and two, two sets of 10 reps on four exercises, light tension, twice a week. Weeks three and four, three sets of 12 reps, three exercises, still light. From week five, keep two exercises and try the next tension up while the other two stay where they are.
Some weeks will feel like going backwards, and that is normal. If a session feels heavy, repeat the previous week rather than adding anything. Progress in a home routine comes from small, boring increments repeated over months, not from a hard week followed by nothing.
What If You Do Not Own a Band Yet
You can start this week without buying anything. A heavy backpack loaded with books or water bottles behaves like a light dumbbell for rows, curls and presses, and a long-sleeve shirt or a rolled towel works as a low-tension band for banded squats and pull-aparts.
Both options teach the same movement patterns, so nothing is wasted. When you do buy a band, you will already know which tension suits you and which exercises you can control.
Common Mistakes
Almost every avoidable band injury traces back to one of five errors. The fix is usually small.
| What goes wrong | Why it happens | The fix |
|---|---|---|
| Band snaps back at you | Anchored band at low tension, or you let go early | Load the band fully before the first rep, keep hands clear of your face |
| Band rolls up the thighs | Loop is too loose or sits on skin | Move it above the knee or wear fitted leggings, then check the size |
| Hands get bruised or numb | Gripping too hard on a thin band | Shorten the band, add handles, or brace against your thighs during rows |
| Weight shifts to the toes | Heels lifting during banded squats | Shorten your stance, keep heels down, reduce the loop tension |
| Progress stalls or hurts | Jumping tensions every week | Stay on one tension until 3 sets of 15 feel controlled |
Two more worth naming. Rushing the lowering phase is the quiet one, because it feels fast rather than dangerous, and it is where you lose most of the benefit. And stacking reps on an already-fatigued band just produces a longer, wobblier set rather than a harder one. Stop the set when your form changes, not when the number says to.
Stop and speak to a doctor or physical therapist before you train if you have sharp joint pain, recent surgery, a shoulder that clicks or catches, numbness, or a history of heart problems that has not been cleared for exercise. General soreness for a day or two after a first session is normal. Sharp pain, swelling and pain that lasts more than a few days are not.
Frequently Asked Questions
How do you use resistance bands for beginners?
Start with a light band, check it for cracks or thin spots, and learn two movements before adding more. Do two sets of 10 to 12 reps on rows, banded squats, biceps curls and glute bridges, resting 60 to 90 seconds between sets. Progress by adding reps first, then a third set, and only then a heavier band.
What do you attach resistance bands to at home?
Anchor to a sturdy chair with a solid back, a fixed floor-level bar, or a purpose-built door anchor with a safety sleeve. Check the anchor by loading the band before you stand up. Avoid door knobs, handles on gas appliances, radiators, freestanding shelves and anything screwed to drywall only.
How heavy a resistance band should I start with?
Pick a tension where the last three reps feel hard but your knees, elbows and back keep their position. Brands colour-code differently, so read the chart on the packaging. Beginners usually need two or three tensions rather than one, since starting too heavy is the fastest way to quit.
Why do my resistance bands keep rolling up my thighs?
A loop band that is too loose will slide down toward the knee or up the leg during every rep. Move it higher on the thigh, wear fitted leggings so it grips fabric rather than skin, and swap to a narrower loop. Fabric bands roll far less than smooth latex ones.
Do resistance bands help you lose belly fat?
No band targets belly fat specifically. Strength training burns calories while you train and helps you keep muscle as you lose weight, but visible fat change comes from a calorie deficit and overall activity. Pair two or three band sessions a week with regular walking to get the result you want.
Do resistance band workouts actually work?
Yes, for strength, joint stability, balance and posture. Because tension rises as you stretch the band, your muscles work through the full range of motion, which is exactly why slower, controlled reps matter. Bands build real strength, though heavy progressive lifting still adds more maximum strength over time.
Conclusion
Your first session is simple. Pick a light band, run it through your hands to check for damage, clear a patch of floor, anchor it to something solid, and do four exercises for two sets of 10 with slow returns. That is a 12-minute workout you can repeat on Tuesday and Friday, and it is enough to build from.