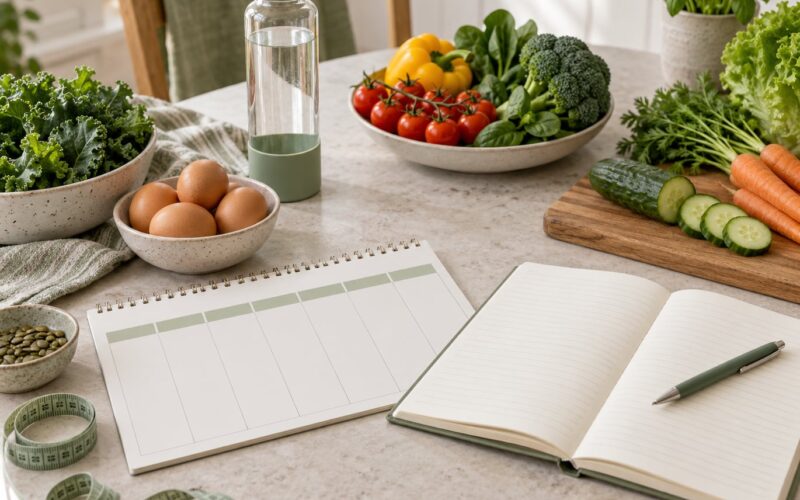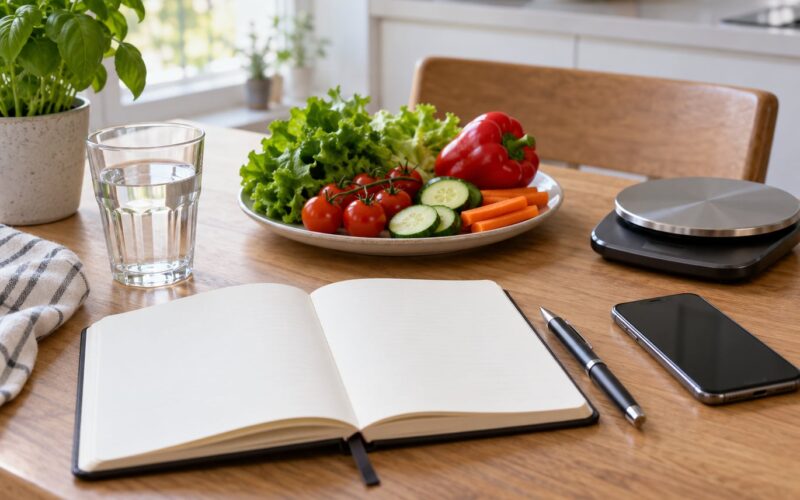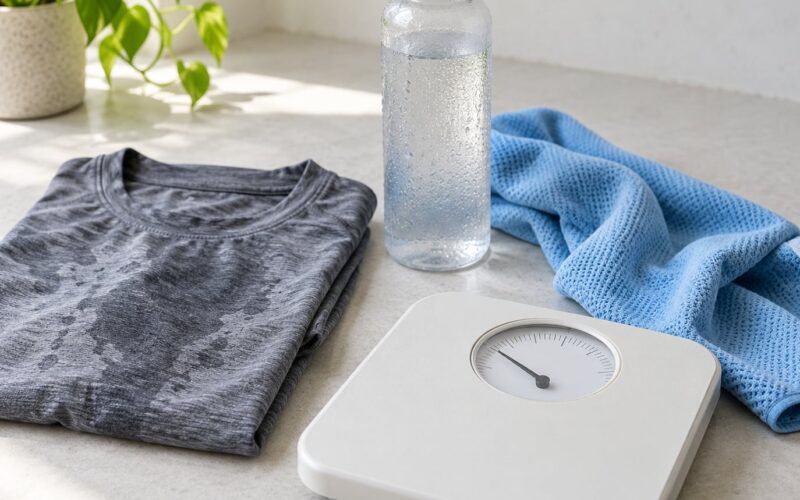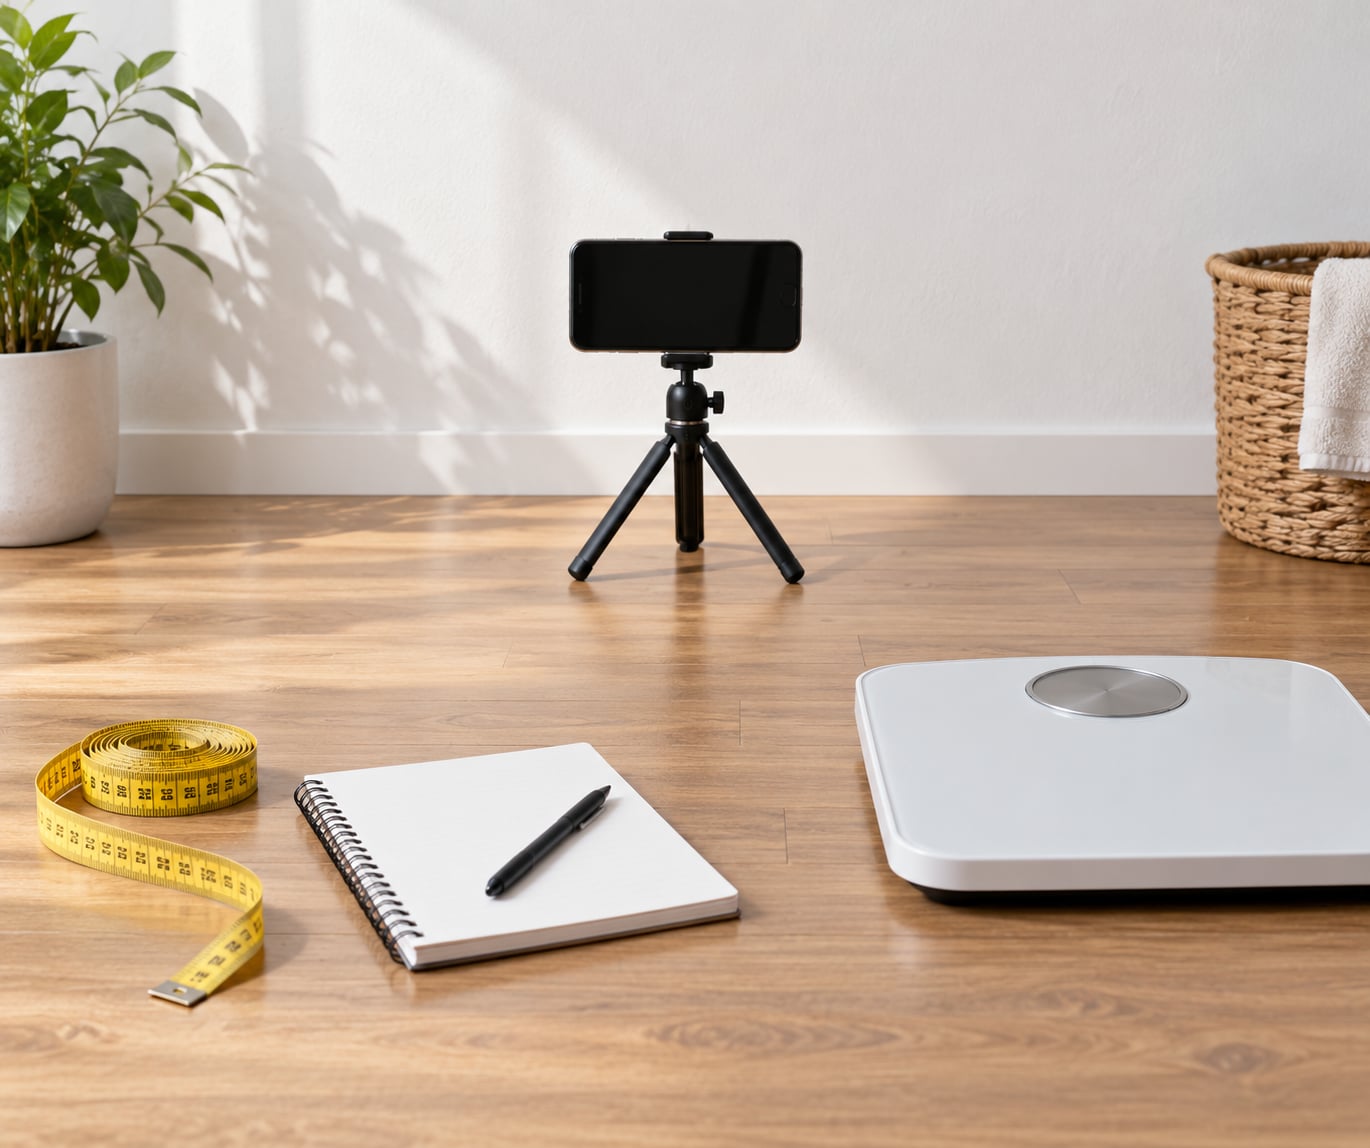
To take progress photos for weight loss that are actually useful, keep four things identical every time: the spot, the lighting, your outfit, and your pose. Shoot the front, both sides and your back, add the date to the file name, and you have a five-minute session you can repeat every two weeks for years.
The reason this works is simple. Weight on the scale moves around daily with water, salt, hormones and whatever you ate for dinner, and your memory of your own appearance fades fast. Photos do not move around. When everything but your body is held still, the only variable left between two pictures is your shape, which is why regulars in weight-loss communities say the scale will frustrate you but pictures do not lie.
It takes roughly a month for most people to notice anything at all, and that is normal. Body recomposition moves slowly, and some weeks a photo will look worse even when you are losing fat, usually because of water retention, bloating or a heavy salt meal the night before. Set the routine up once, then let it run.
Table of Contents
- What You Need
- Step-by-Step: How to Take Progress Photos for Weight Loss
- Set Up the Same Background and Lighting
- Choose Consistent Poses and Camera Angles
- Keep Clothing and Timing Comparable
- Save and Organize Each Photo Set
- Review Progress Without Obsessing Over Daily Changes
- Common Mistakes
- Frequently Asked Questions
- How often should I take progress photos for weight loss?
- How do I take progress photos by myself?
- What should I wear for progress photos?
- Do progress photos replace weigh-ins?
- Why do my progress photos look worse even though I lost weight?
- What app should I use to compare before and after photos?
What You Need
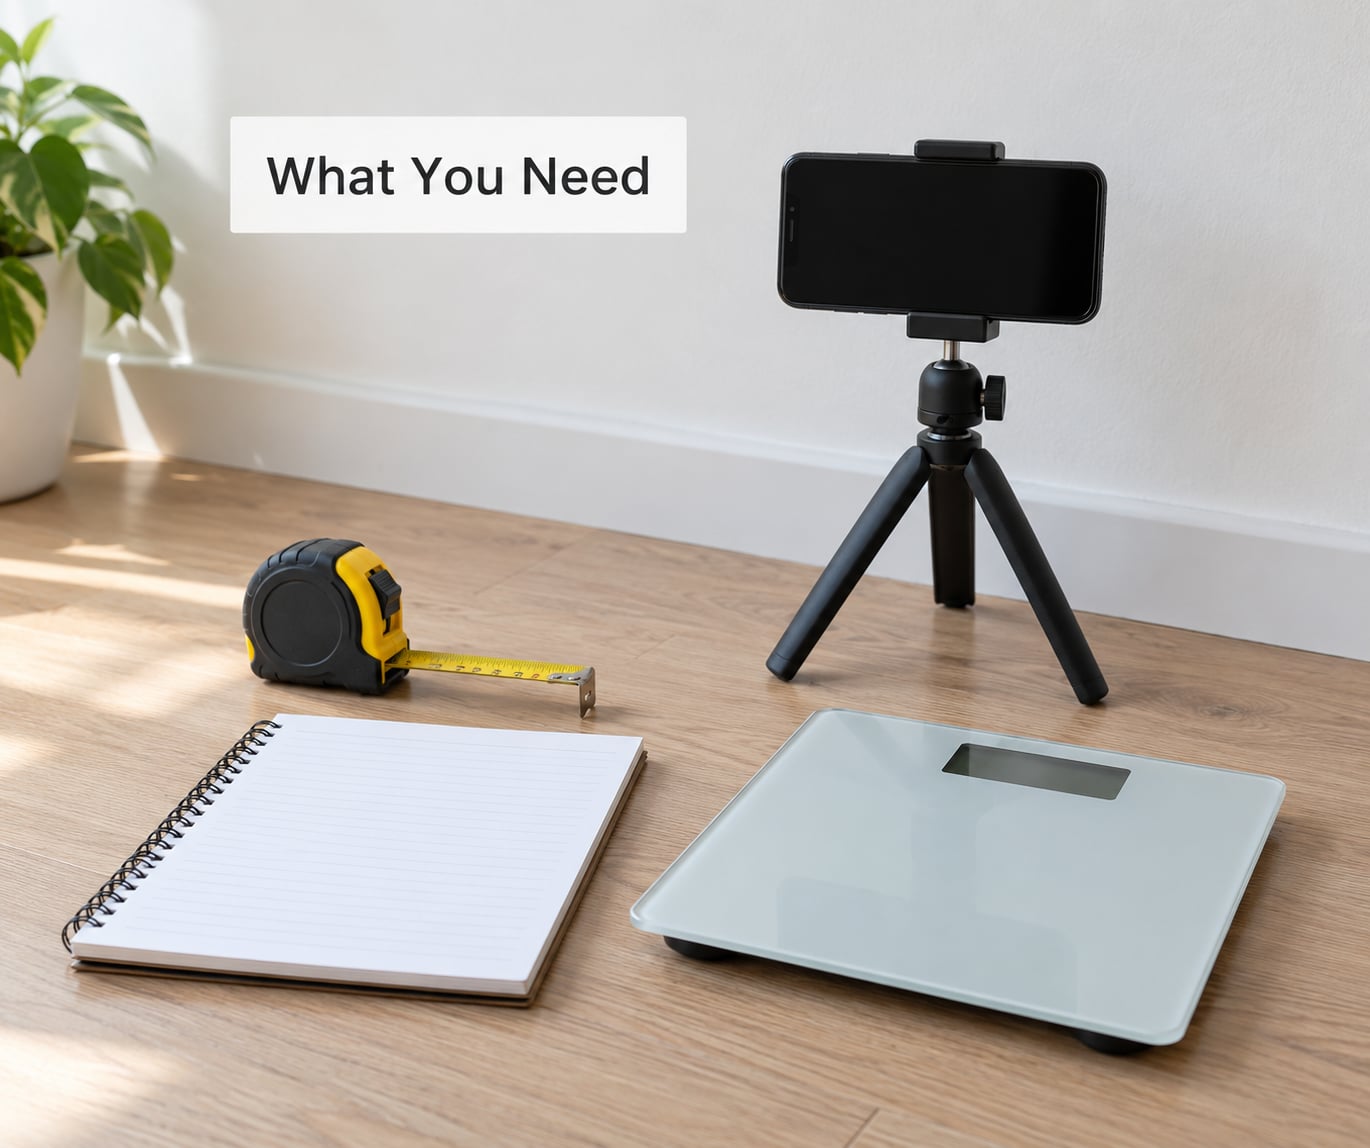
Almost nothing. Most people shoot their whole series on the phone already in their pocket, and the quality difference against a proper camera is small at phone distances.
- A phone with a working rear camera. The rear lens is sharper and has no mirroring, so your proportions stay honest. Wipe the lens first; a smudged lens is the most common reason a photo looks soft.
- A tripod or stable support. A small phone tripod, a stack of books, a windowsill, or a sturdy shelf all work. Anything that holds the phone at chest height without you holding it.
- A plain background. A blank wall in a corner of a bedroom or bathroom. Nothing patterned, nothing busy, no mirrors in frame.
- A timer or remote. The ten or three second timer on your phone is usually enough once you know where to stand.
- One fixed outfit. Something fitted enough to show shape but loose enough that you are not adjusting it during the shot. Form-fitting activewear works well.
- Optional: a tape measure and a notebook. Waist circumference is the number that keeps moving when the scale stalls, so it is worth writing down each session.
One more piece of prep matters more than the gear: pick a time of day and stick to it. Most people choose first thing in the morning after using the bathroom and before eating or drinking anything.
Step-by-Step: How to Take Progress Photos for Weight Loss
Set Up the Same Background and Lighting
Same room, same wall, same light direction, every single time. Lighting changes the apparent shape of a body more than anything else you can control, which is why a photo taken under warm evening bulbs can erase three weeks of work in an instant.
Stand in the same spot every session and mark it. A piece of tape on the floor or a note in your phone’s camera app is enough to guarantee you return to the same distance from the wall.
- Light from the front or side-front. A window is ideal. Avoid light directly overhead, which casts shadows under the eyes and across the stomach, and avoid any light behind you, which turns you into a silhouette.
- Camera at chest height. A phone held at waist level stretches the proportions. Chest height with the lens level to your torso keeps head-to-toe framing natural.
- Same distance every time. Step back until your whole body fits with a small margin, then never move that spot again.
- No mirror selfies. Mirrors flip the image and add a layer of distortion. Use the rear camera pointed at you with a timer.
- No zoom. If you need to zoom, move closer to your marked spot instead.
If you shoot in the evening, switch off overhead lights and use the same lamp from the same side each time. What matters is repeatability, not perfection of the light.
Choose Consistent Poses and Camera Angles
Take four shots: front, left side, right side and back. The side views are usually the most revealing, because fat loss shows around the waist and hips long before it shows in the mirror, and a side angle shows the change in profile more honestly than a front view.
For the standard set, stand with feet hip-width apart, arms hanging a few inches away from your body, shoulders level, and chin level with your eyes rather than tilted down. Breathe normally and let your stomach sit wherever it naturally sits. Do not suck it in or hold your ribs in.
If you want a second set, take one flexed pass at the end: arms bent, front and side only. People in lifting communities tend to shoot both and label them, one relaxed and one flexed, because they answer different questions. Relaxed shows fat loss and looseness, flexed shows muscle definition and vascularity. Mixing them into the same set is where comparisons go wrong.
Keep the whole relaxed set as your default and keep flexed shots separate in your folder. Whichever you choose, the pose has to be identical down to the arm position and the direction you are facing.
Keep Clothing and Timing Comparable
Wear the same outfit for the entire series. Baggy clothes hide exactly the changes you are trying to track, and switching between a loose t-shirt and fitted shorts makes two photos impossible to compare, no matter how good the lighting is.
What to wear for progress photos comes down to one rule: fitted, neutral, and the same every time. Sports bra and shorts, fitted leggings and a plain top, or a swimsuit all work. Avoid anything with a logo, a pattern, or a cut that changes your outline between sets. Underwear or a swimsuit is a common choice because it gives the clearest view, and it is fine as long as that is genuinely comfortable for you.
Timing matters just as much. Photograph yourself at the same point in the daily cycle each time, ideally before eating or drinking anything, and use the bathroom first. Water retention and bloating shift your waist by an inch or two in either direction, and comparing a morning photo to an evening one is comparing two different people.
For anyone who tracks a medication-assisted weight loss journey, the same rule applies and matters more. Changes can be gradual, so an inconsistent photo series will convince you nothing is happening right when the record would prove otherwise.
Save and Organize Each Photo Set
Name files the moment you take them, while the date is still obvious. A pattern like YYYY-MM-DD_front.jpg keeps a series in order, tells you which angle you are looking at, and survives being uploaded to a new phone later.
Then move the set out of your main camera roll. Photos shot on a timer sit in the regular camera roll mixed in with everything else, and rolling photos get auto-deleted when storage runs low, which is exactly how people lose their baseline.
Two habits cover most of this. First, keep everything in one locked, password-protected album, so the record stays private rather than scrolling past other people. Second, keep the originals and never edit them beyond nothing; cropping or filters break comparability. If your phone backs up to the cloud, decide deliberately whether you want the originals there, and switch that off if the answer is no.
Users on weight-loss forums report a lot of frustration about losing old photos to auto-delete or cloud settings changes, and the fix is always the same. Move the set to a private folder on the day you take it, not the week you remember it.
Review Progress Without Obsessing Over Daily Changes
Compare every two to four weeks, not every day. A weekly comparison is enough to notice a trend; anything more frequent mostly surfaces normal daily fluctuation and makes you feel like nothing is happening.
| Frequency | Best for | The catch |
|---|---|---|
| Weekly | Short challenges and habits that need daily reinforcement | Too close to separate from water fluctuation; often feels discouraging |
| Every two weeks | Most weight-loss journeys and the sweet spot for most people | None that matters, as long as you shoot under the same conditions |
| Monthly | People who find photos triggering, or on a slow GLP-1 timeline | You may miss a plateau forming and a habit drifting |
When you do compare, put the two photos side by side at the same size on the same screen. An overlay or wipe view, even one done in a browser, makes subtle differences in the waist and shoulder line far easier to spot than flipping back and forth between full-screen images. Look for the trend across three or four sets rather than judging one pair.
Pair the photos with something that does not move with water. Waist circumference at the navel, taken the same way each time, is the strongest companion measurement, and a waist-to-hip ratio adds context that raw weight does not give you. Some people also track how their clothes fit, how far they walk or lift, and how they sleep. Those move on a different timeline than the scale and they fill the gaps when a photo week looks flat.
One honest warning: a photo can look worse during a genuine fat-loss phase. Salt-heavy meals, constipation, illness, menstrual-cycle changes and some medications all hold fluid that changes how you look without changing how much fat you have. If a single session makes you feel worse, delete the comparison habit for that week rather than your routine, and talk to a doctor or registered dietitian if the changes are sudden or unusual.
Common Mistakes
Changing the background or lighting between sets. Different light direction reshapes the shadow under your jaw and across your stomach, which reads as a change in fat you never made. Fix: pick one wall and one light source and never move either.
Changing the outfit. The most common mistake and the easiest to fix. Loose fabric hides the waist, and a different color changes the whole silhouette. Fix: wear the same outfit for every session and pick something fitted from the start.
Using mirror selfies. The mirror flips you, adds glare, and you end up cropping and angling each photo differently. Fix: rear camera, timer, no mirror in frame.
Shooting from a new angle each time. Shorter people in particular point out that camera height and distance change how proportionate you look far more than lighting does. Fix: mark your floor spot and keep the camera at chest height.
Comparing weekly photos taken on a different day of the cycle. A shot before your period and a shot the week after can show a full inch of waist difference that is entirely water. Fix: shoot at the same point in your cycle if you notice a pattern, or simply stop looking at single-week comparisons.
Taking photos every day. Daily shooting turns a tracking tool into a mood meter. Fix: pick an interval and put it in your calendar so you stop deciding.
Skipping the baseline photo because you dislike how you look. This is the mistake that hurts most, and it is the one most people make. The photo you skip right now is the only one that shows change later, and no start date is ever flattering enough to feel worth it. Fix: take it today, in the same setup you will use for the next six months, and put it in a locked album.
Sharing photos you have not agreed to share. Progress photos are private by default. Fix: keep the series locked, and only send a copy to someone you trust, on a channel you control.
Frequently Asked Questions
How often should I take progress photos for weight loss?
Every two weeks is the sweet spot for most people. It is frequent enough to show a trend over a few months and far enough apart that daily water fluctuation does not muddy the comparison. Weekly works well during short challenges, and monthly suits anyone who finds photos emotionally difficult. Pick an interval, put it in your calendar, and keep the same conditions every time you shoot it.
How do I take progress photos by myself?
Set your phone on a tripod or a stable shelf at chest height, switch on the ten second timer, stand on your marked floor spot, and hit start. Use the rear camera rather than the front one, since the front lens mirrors the image. Leave a wide margin so your whole body fits, check the first shot, and adjust only once before running the full front, side and back set.
What should I wear for progress photos?
Wear the same fitted, neutral outfit for the entire series. Sports bra and shorts, fitted leggings with a plain top, or a swimsuit all reveal shape clearly. Avoid baggy clothing, which hides the changes you are tracking, and skip anything with a logo or pattern that shifts the outline between sets. Comfort matters more than exposure; pick the option that does not make you tense in front of the camera.
Do progress photos replace weigh-ins?
No, they work best alongside them. The scale tells you the net change in weight, while photos show where that change is happening and whether your shape is altering at all. Add a waist measurement taken at the navel on the same day, and pair both with how you feel and perform. During a plateau the photos are often the only tracker that still shows movement.
Why do my progress photos look worse even though I lost weight?
Fat loss and appearance are not the same thing week to week. Salt, constipation, illness, menstrual-cycle changes and some medications all hold fluid that changes your waist and how defined you look, without adding fat. Compare sets three or four weeks apart rather than adjacent weeks, and look for a trend instead of a single pair. Sudden or unusual changes in weight or swelling are worth raising with your doctor.
What app should I use to compare before and after photos?
You do not need to pay for anything to start. Your phone photo library, plus a locked private album, handles capture, dating and storage for free, and most phones have a built-in side-by-side compare feature. Dedicated apps mainly add overlay alignment and multi-photo timelines, which are genuinely useful but are not essential. Test with free tools first and pay only if comparing monthly sets becomes a real chore.
Do the first shoot today. Pick the wall, the light, the outfit and the camera height, take four relaxed shots, name the files with today’s date, and move them into a locked album. Then put a two-week reminder in your calendar and leave the rest alone.